
I Finally Built a Work Bench
The knockdown joiners bench

Head’s up, long post ahead.
Intro
I’ve been wanting to build a work bench for the better part of the past decade. The problem with work benches is that they are (famously) heavy and difficult to move, though I guess that is also one of the good things about a them.
Until the end of 2024, my wife and I were renters. Apartments, duplexes, and rental houses are not great places to build a big heavy thing that will need to move in a year or so, so I held off. I did build a small Roman work bench that honestly performed much better than I thought it would, it’s just obviously limited and almost impossible to carve on.
I spent those years researching and figuring out what benches were out there and what I wanted to build, as well as what fit in my budget and skillset. I ultimately decided on the joiner’s bench.
The joiner’s bench is relatively inexpensive, viceless, and pretty easy to build. Not to mention there’s dozens of great, free plans out there. Through my research I stumbled on a Popular Woodworking article, written by non other than Chris Schwarz, on building a pretty cheap knockdown joiner’s bench. What more could I ask for?
Building
The rest of this post is basically just my experience building this bench. Successes, screw-ups, lessons learned, and my opinion on the article and bench as a whole. I went with the 6’ option and only changed a couple of things.
I’ll start by saying that with a free article, from a magazine I don’t subscribe to, all of my complaints are just whining and laziness, but a magazine article designed for reading makes a hard plan to follow. I saw that coming though. Cut plans and layout guides would have been great but are something I’d expect in a paid plan or book, not in a magazine article. I’ll also add that the article is a little old at this point, so some of the prices are obviously a bit inflated now.
The build calls for 4 - 2″ x 12″ x 16′ boards. I drive a VW Jetta. I rented a 10’ flatbed truck from Home Depot to take these home, it barely cost me $30 so I’m pretty happy with that.
The hardware was all easy to find and (I think) reasonable price, including the holdfasts.
The biggest issue I had right out of the gate was figuring out how to cut everything. Schwarz’s plan includes a cutting list but not a layout for how to cut everything. I have no idea how to figure that kind of thing out besides using a lot of trial and error. I did some googling and stumbled on Opticutter. I highly recommend this site for optimizing flat goods for cutting. It made everything super easy and I was able to cut everything pretty quick once I got all the cut list added to the website. I didn’t need to resaw any of the boards so this was perfect, if you need to resaw (plan in three dimensions), good luck, this probably won’t work for you. I cut everything with a circular saw and my little table saw without issue and let everything sit in my garage for about two weeks to acclimate.
N.B. - I’m going to link any/all resources that I found helpful at the bottom of this article.
I followed the instructions and spent about a week building this thing after work and on the weekends. The article is well written, the build was largely uneventful and I won’t walk through every step, just what I consider watch-outs and things I changed.
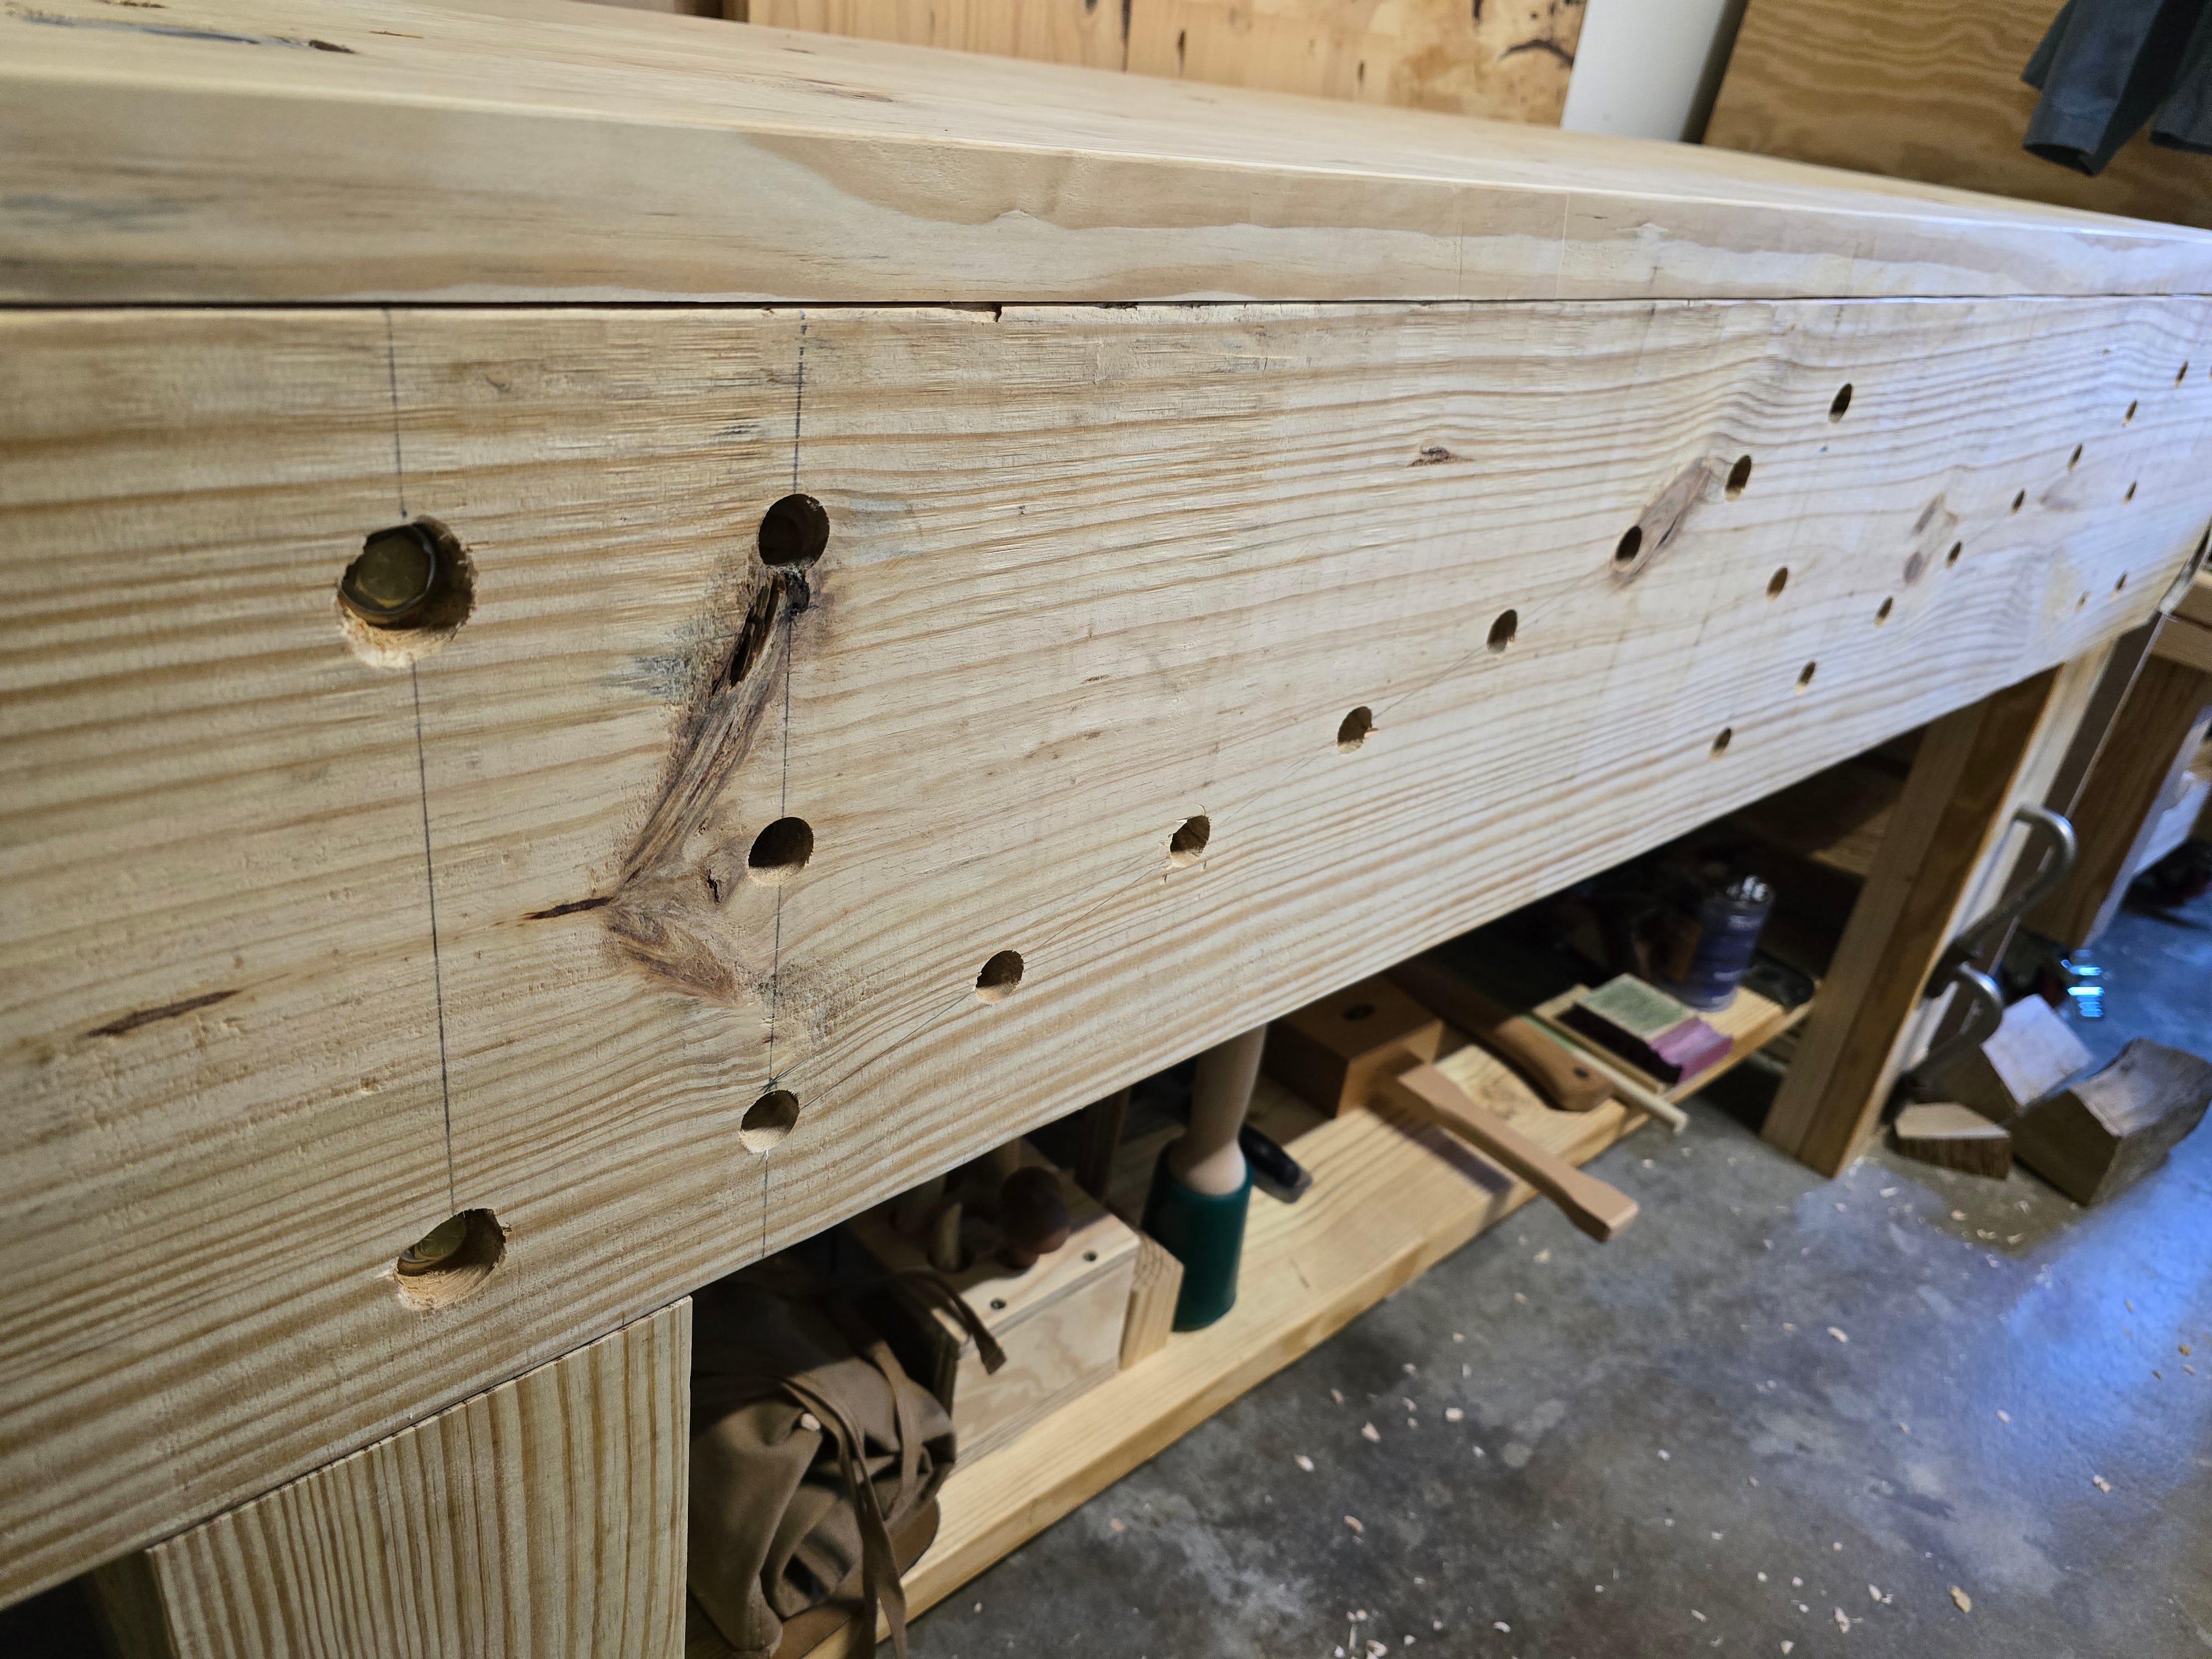
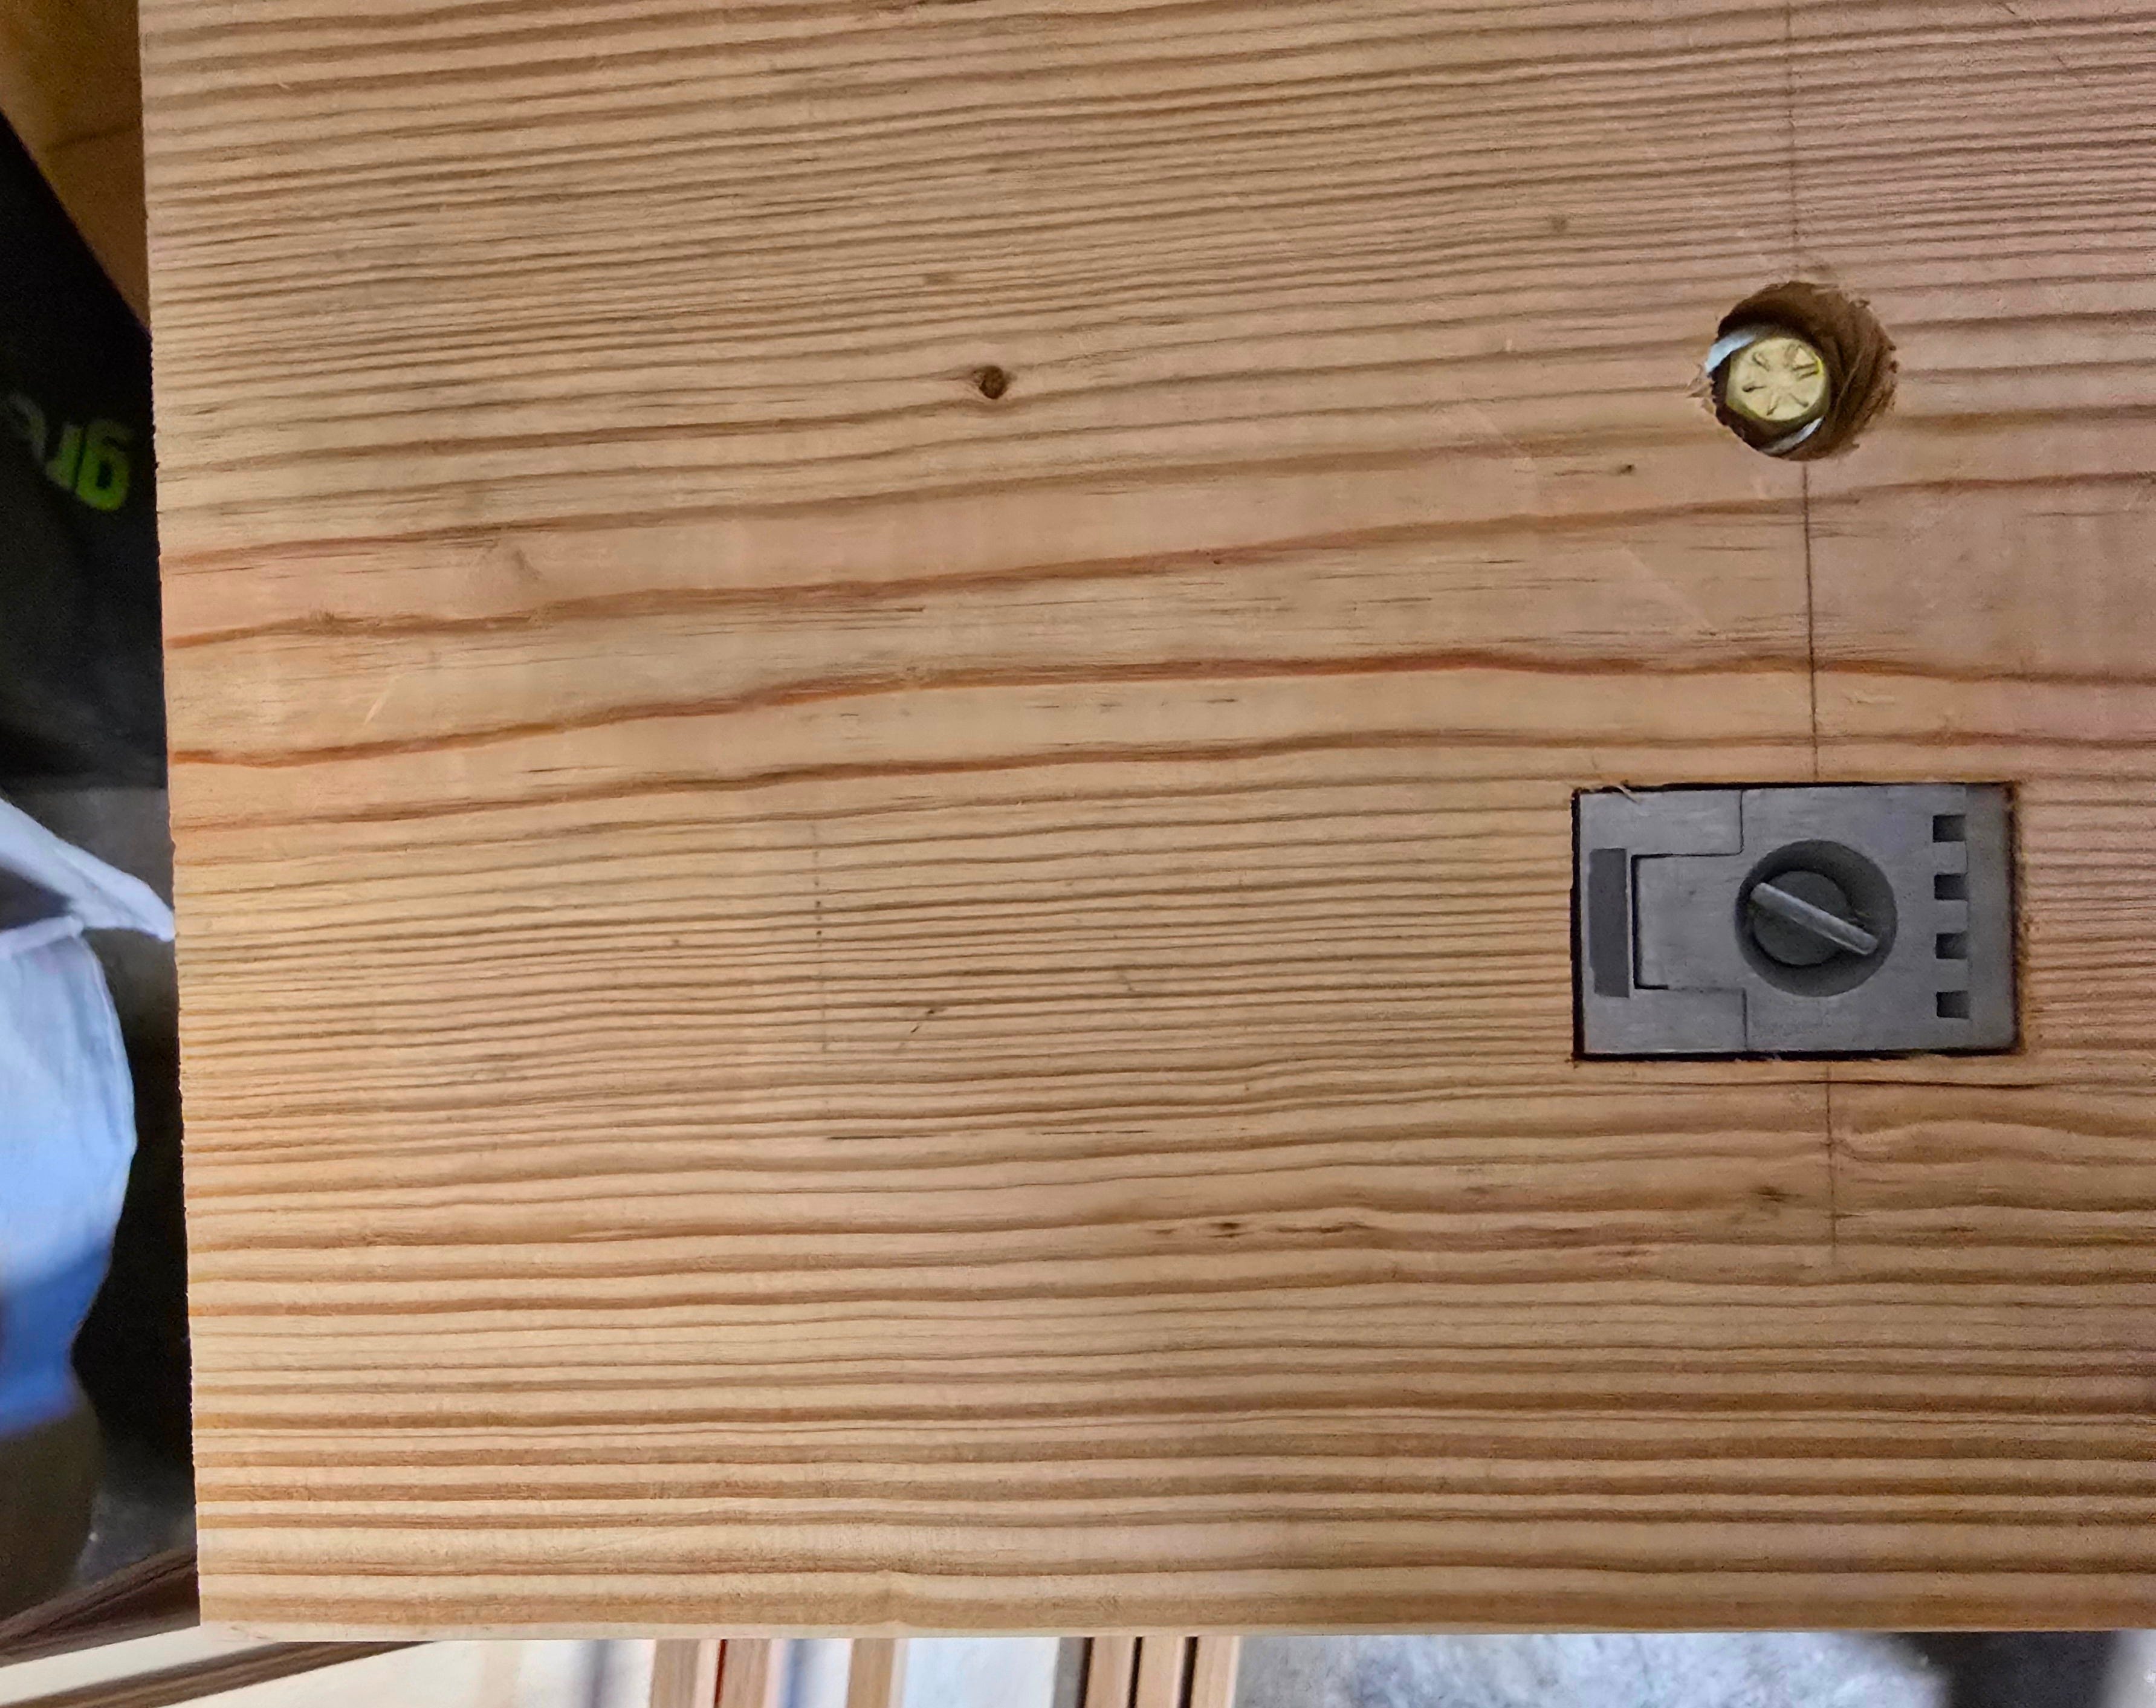
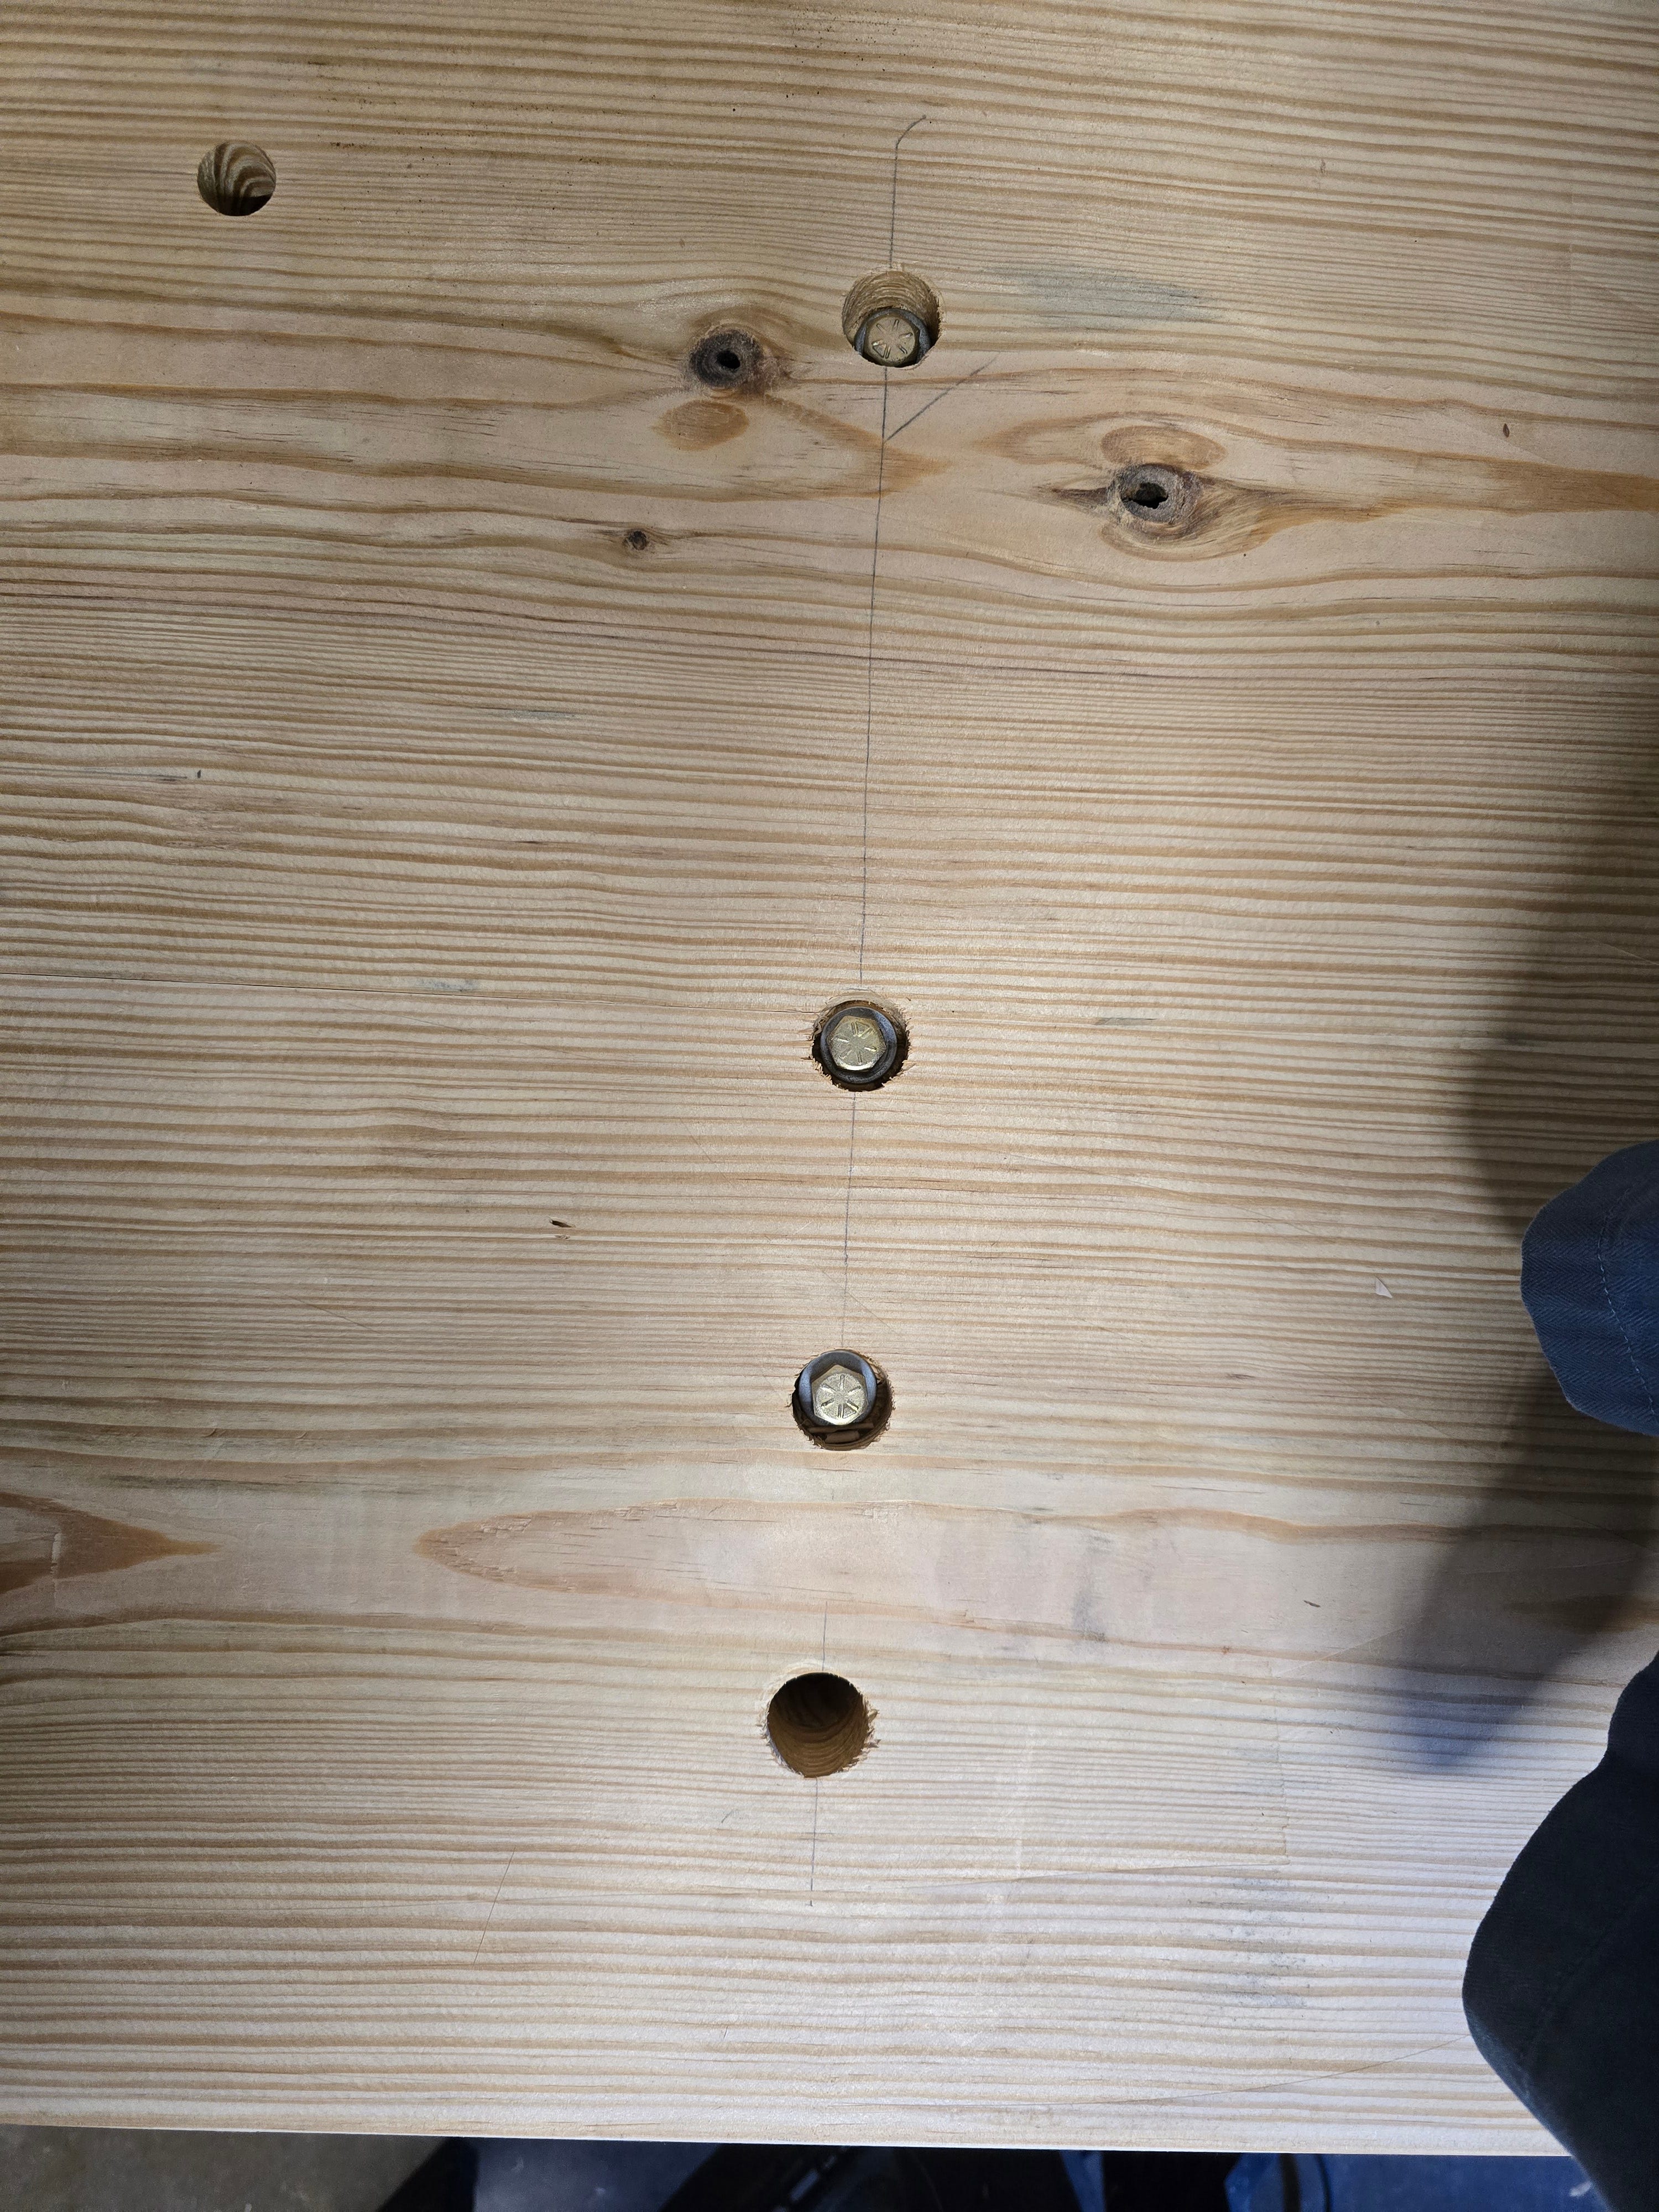
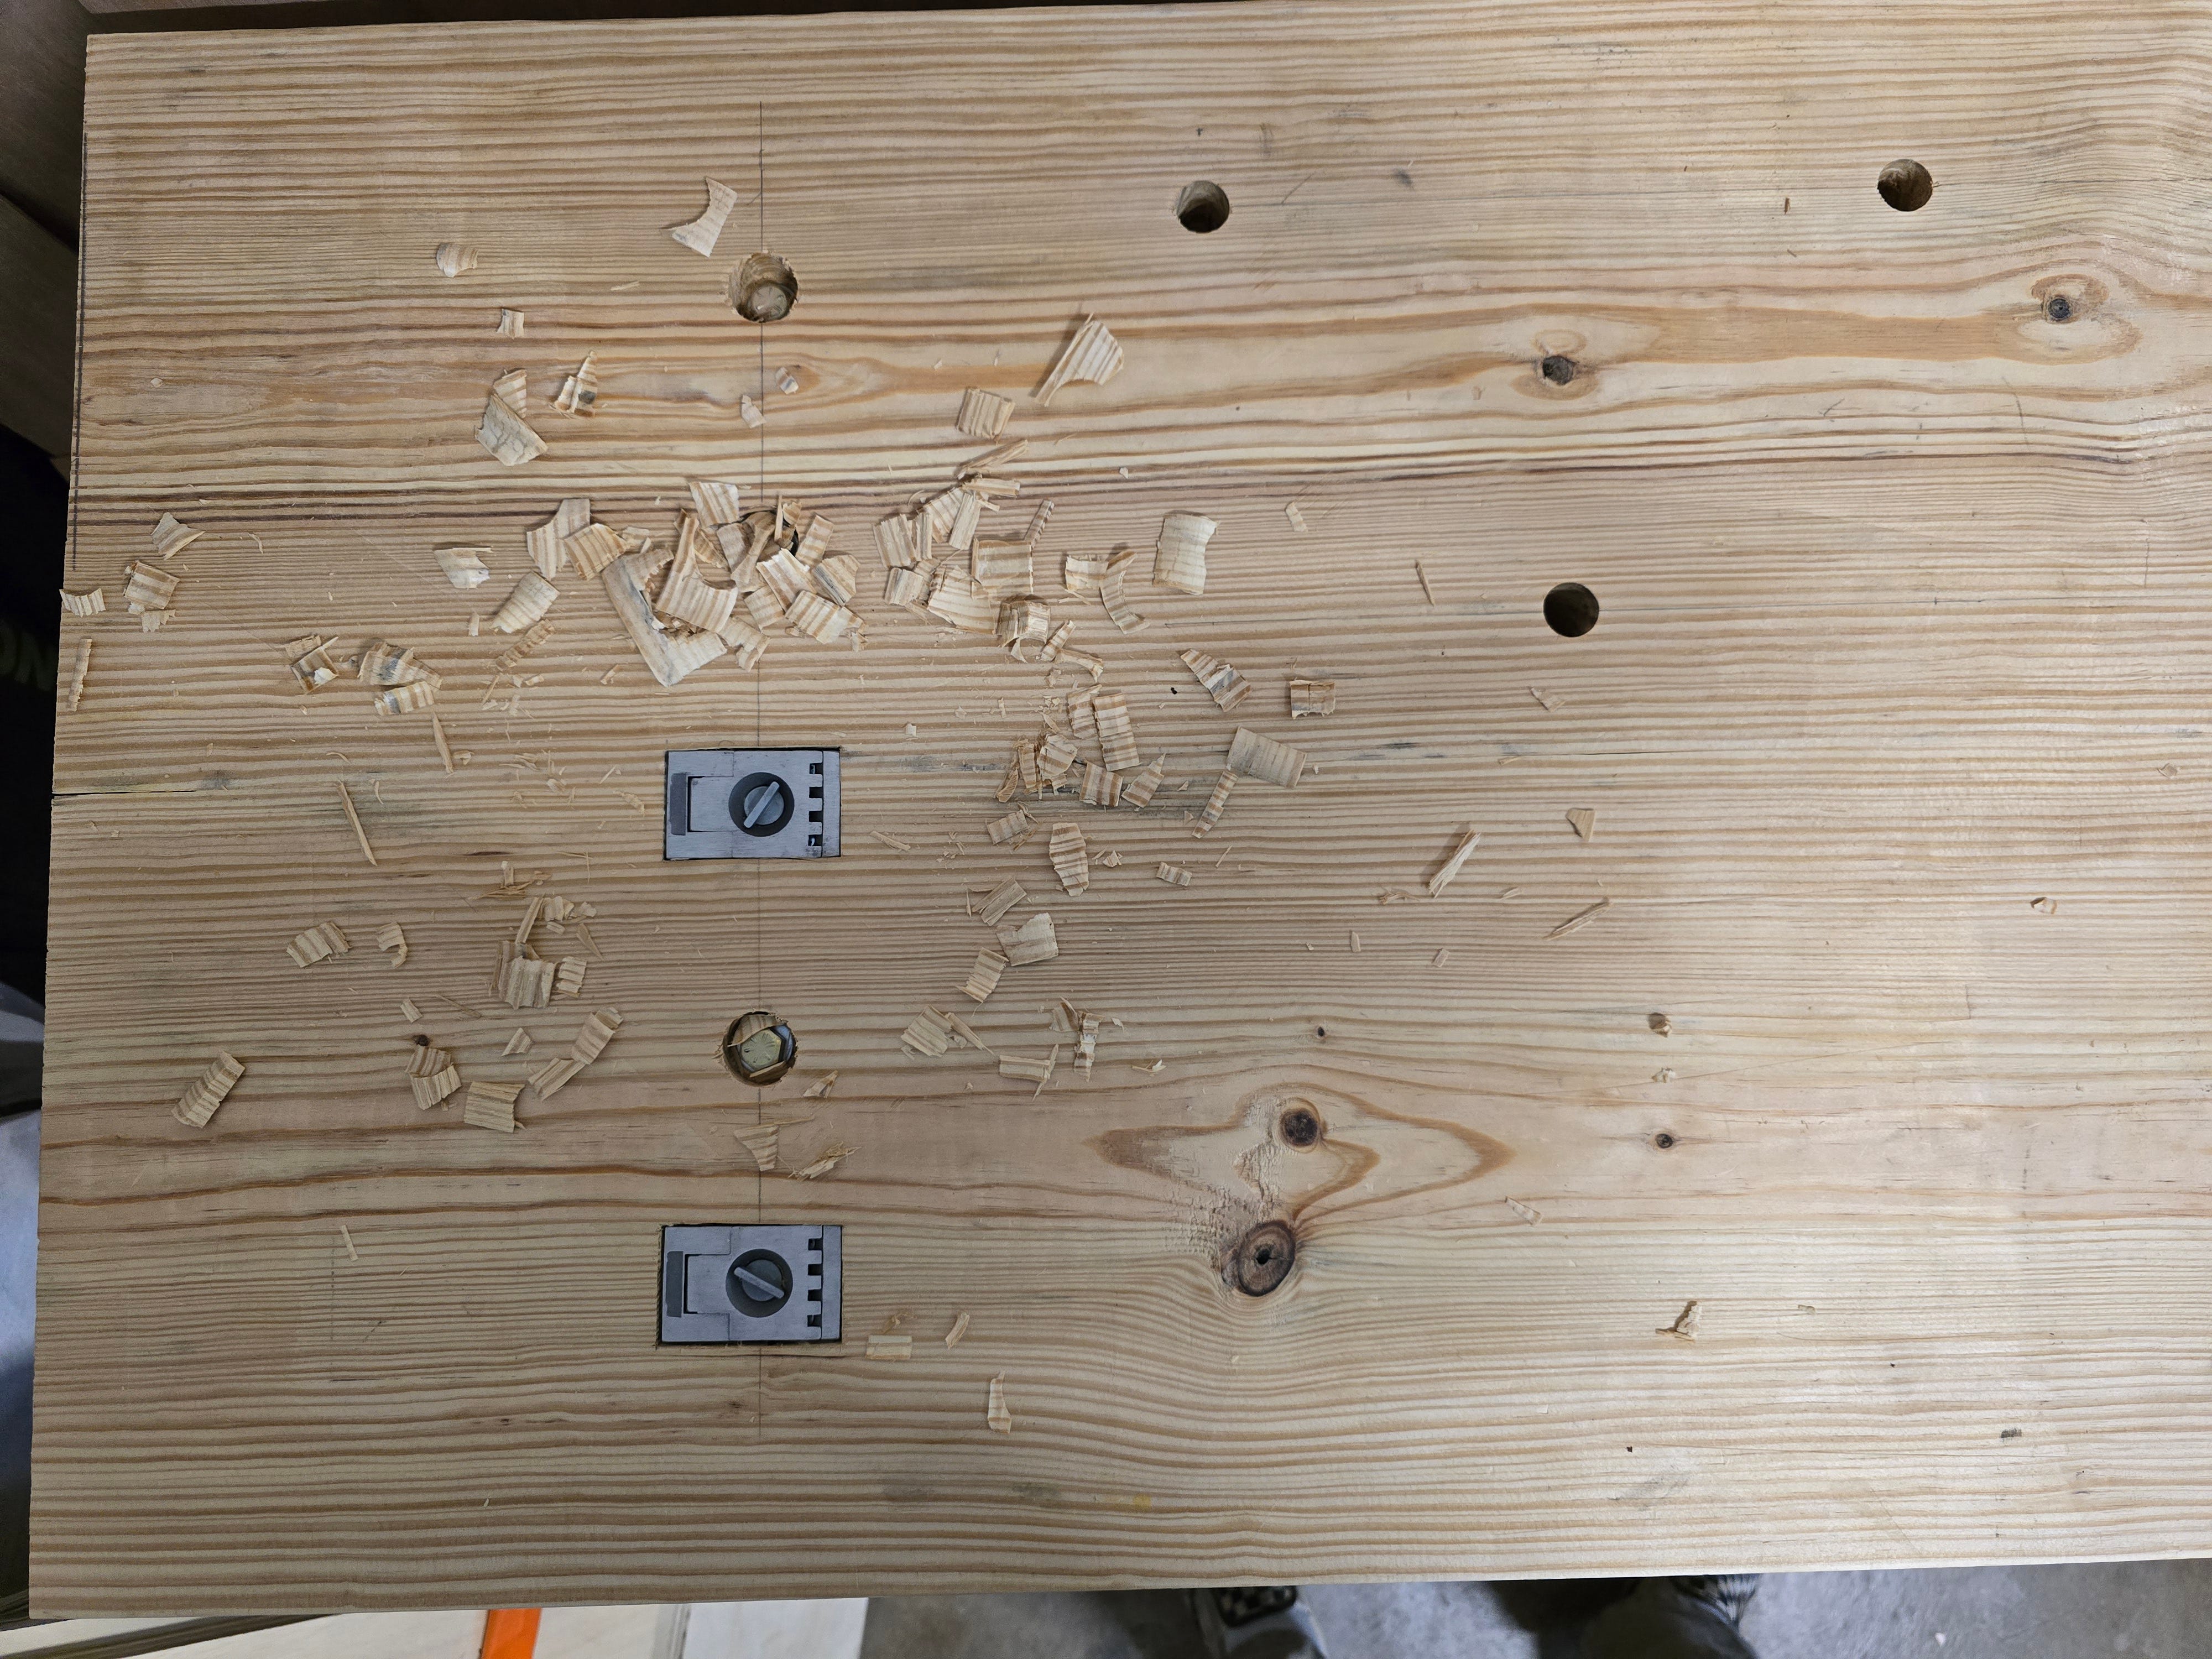
Some of the spacing around the ductile mounting plates was a little too tight, If I’d had put these on vertically instead of horizontally, I don’t think it would have been a problem. I just had to chop out a small dado on the end aprons to make room. No biggy, but I had similar issues in some other spots. Just watch out for these when assembling and planning holdfast holes.
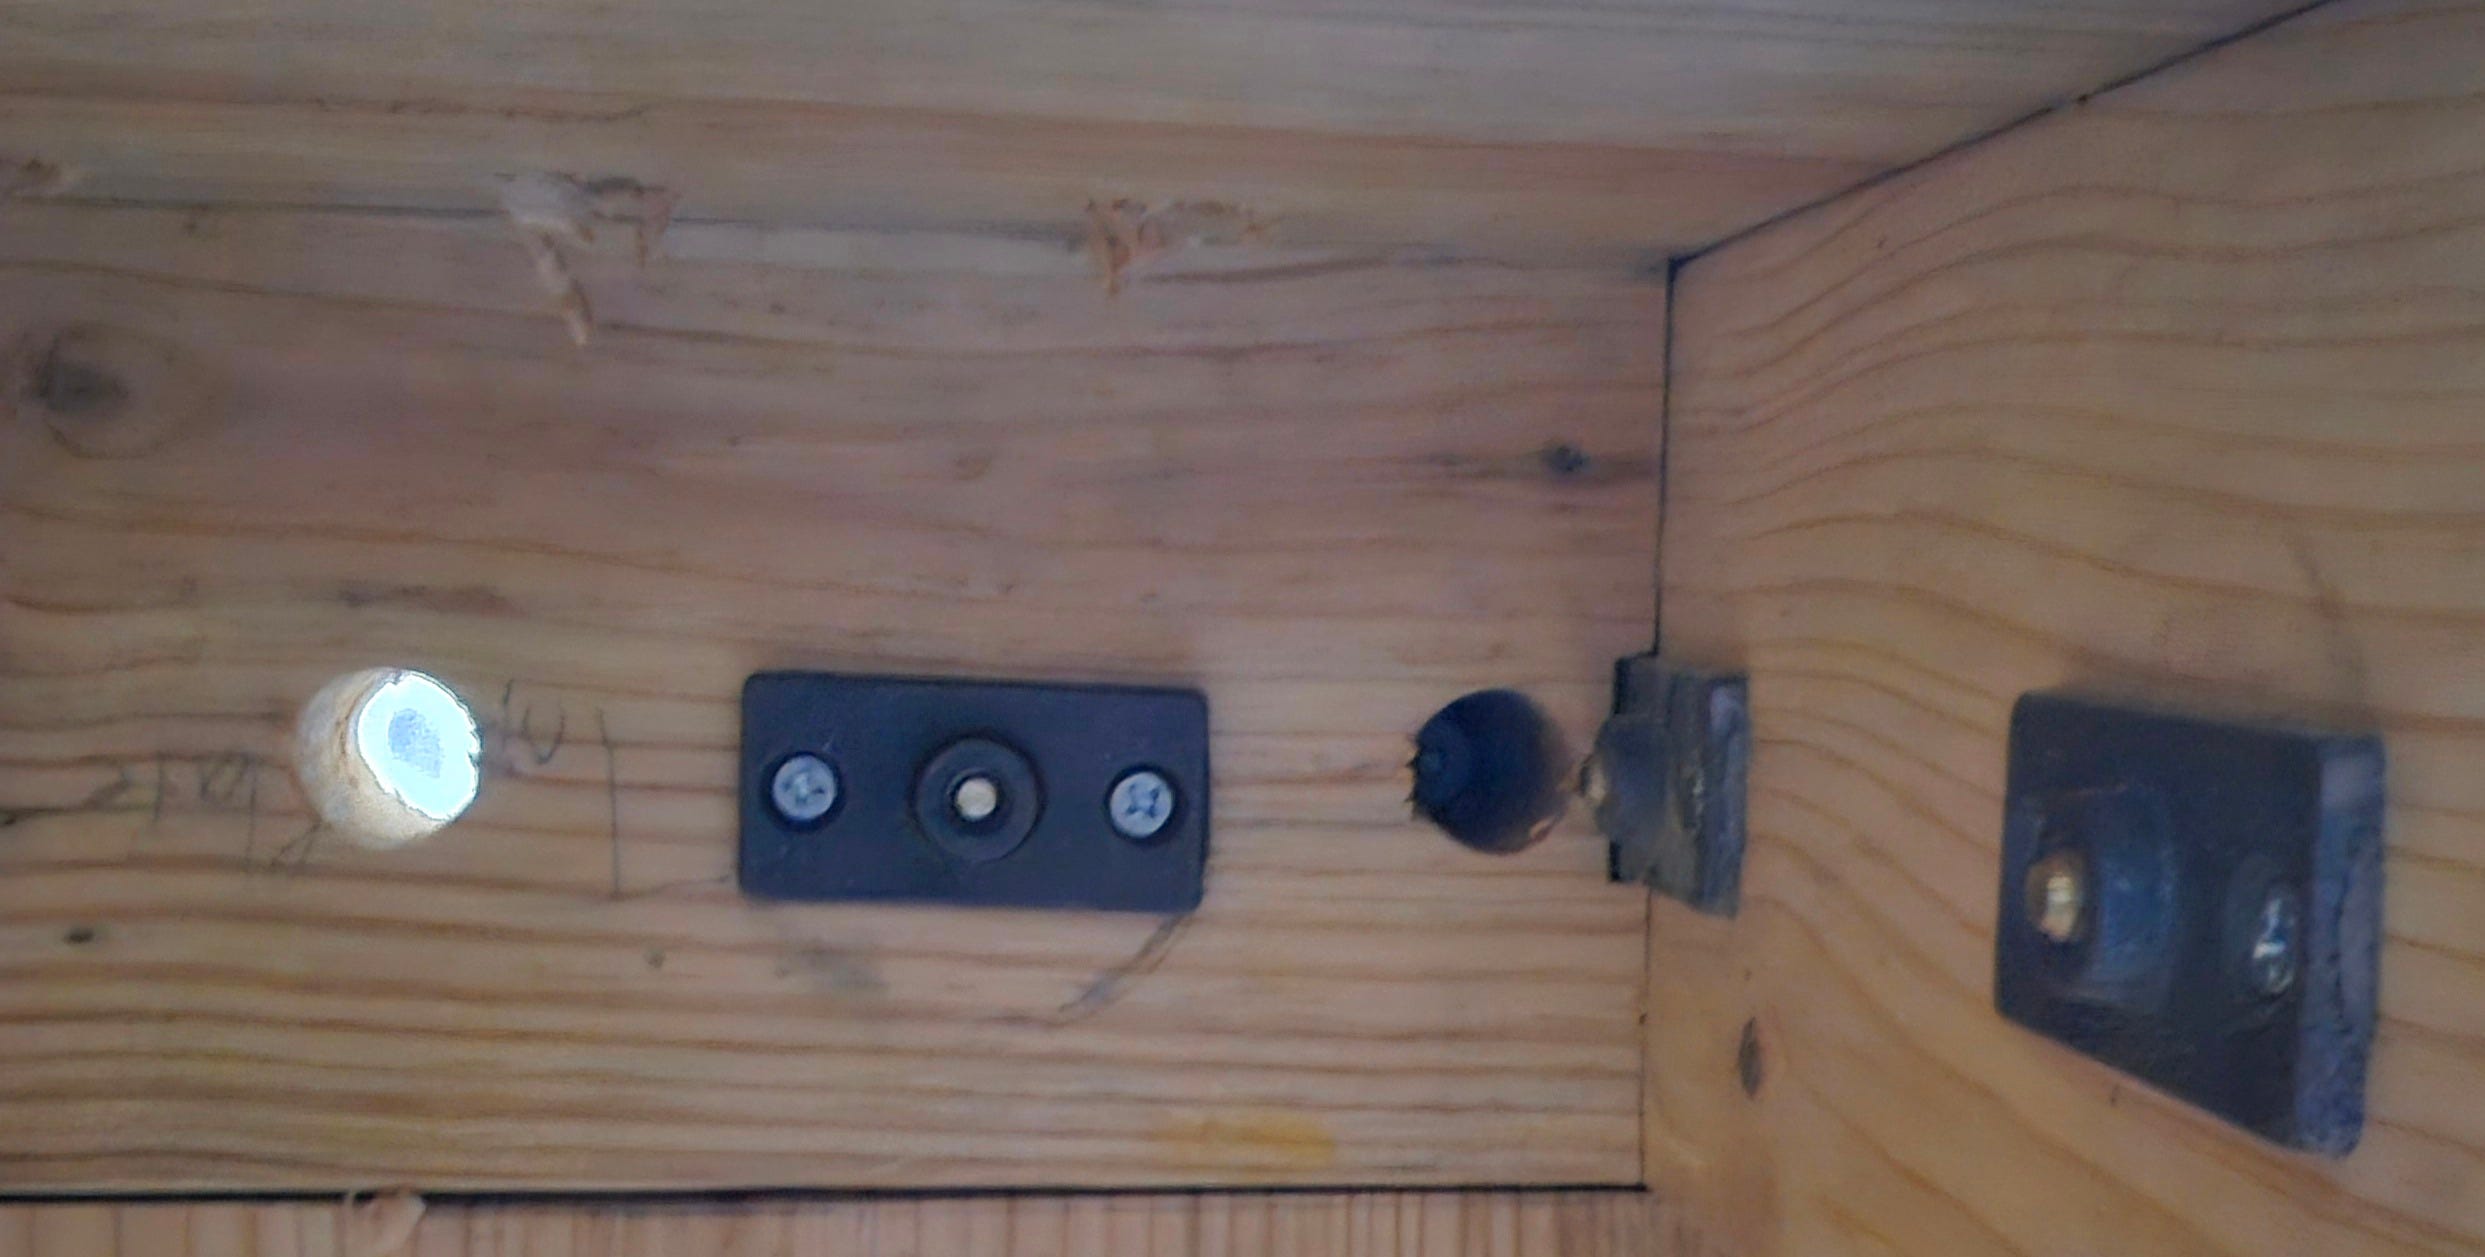
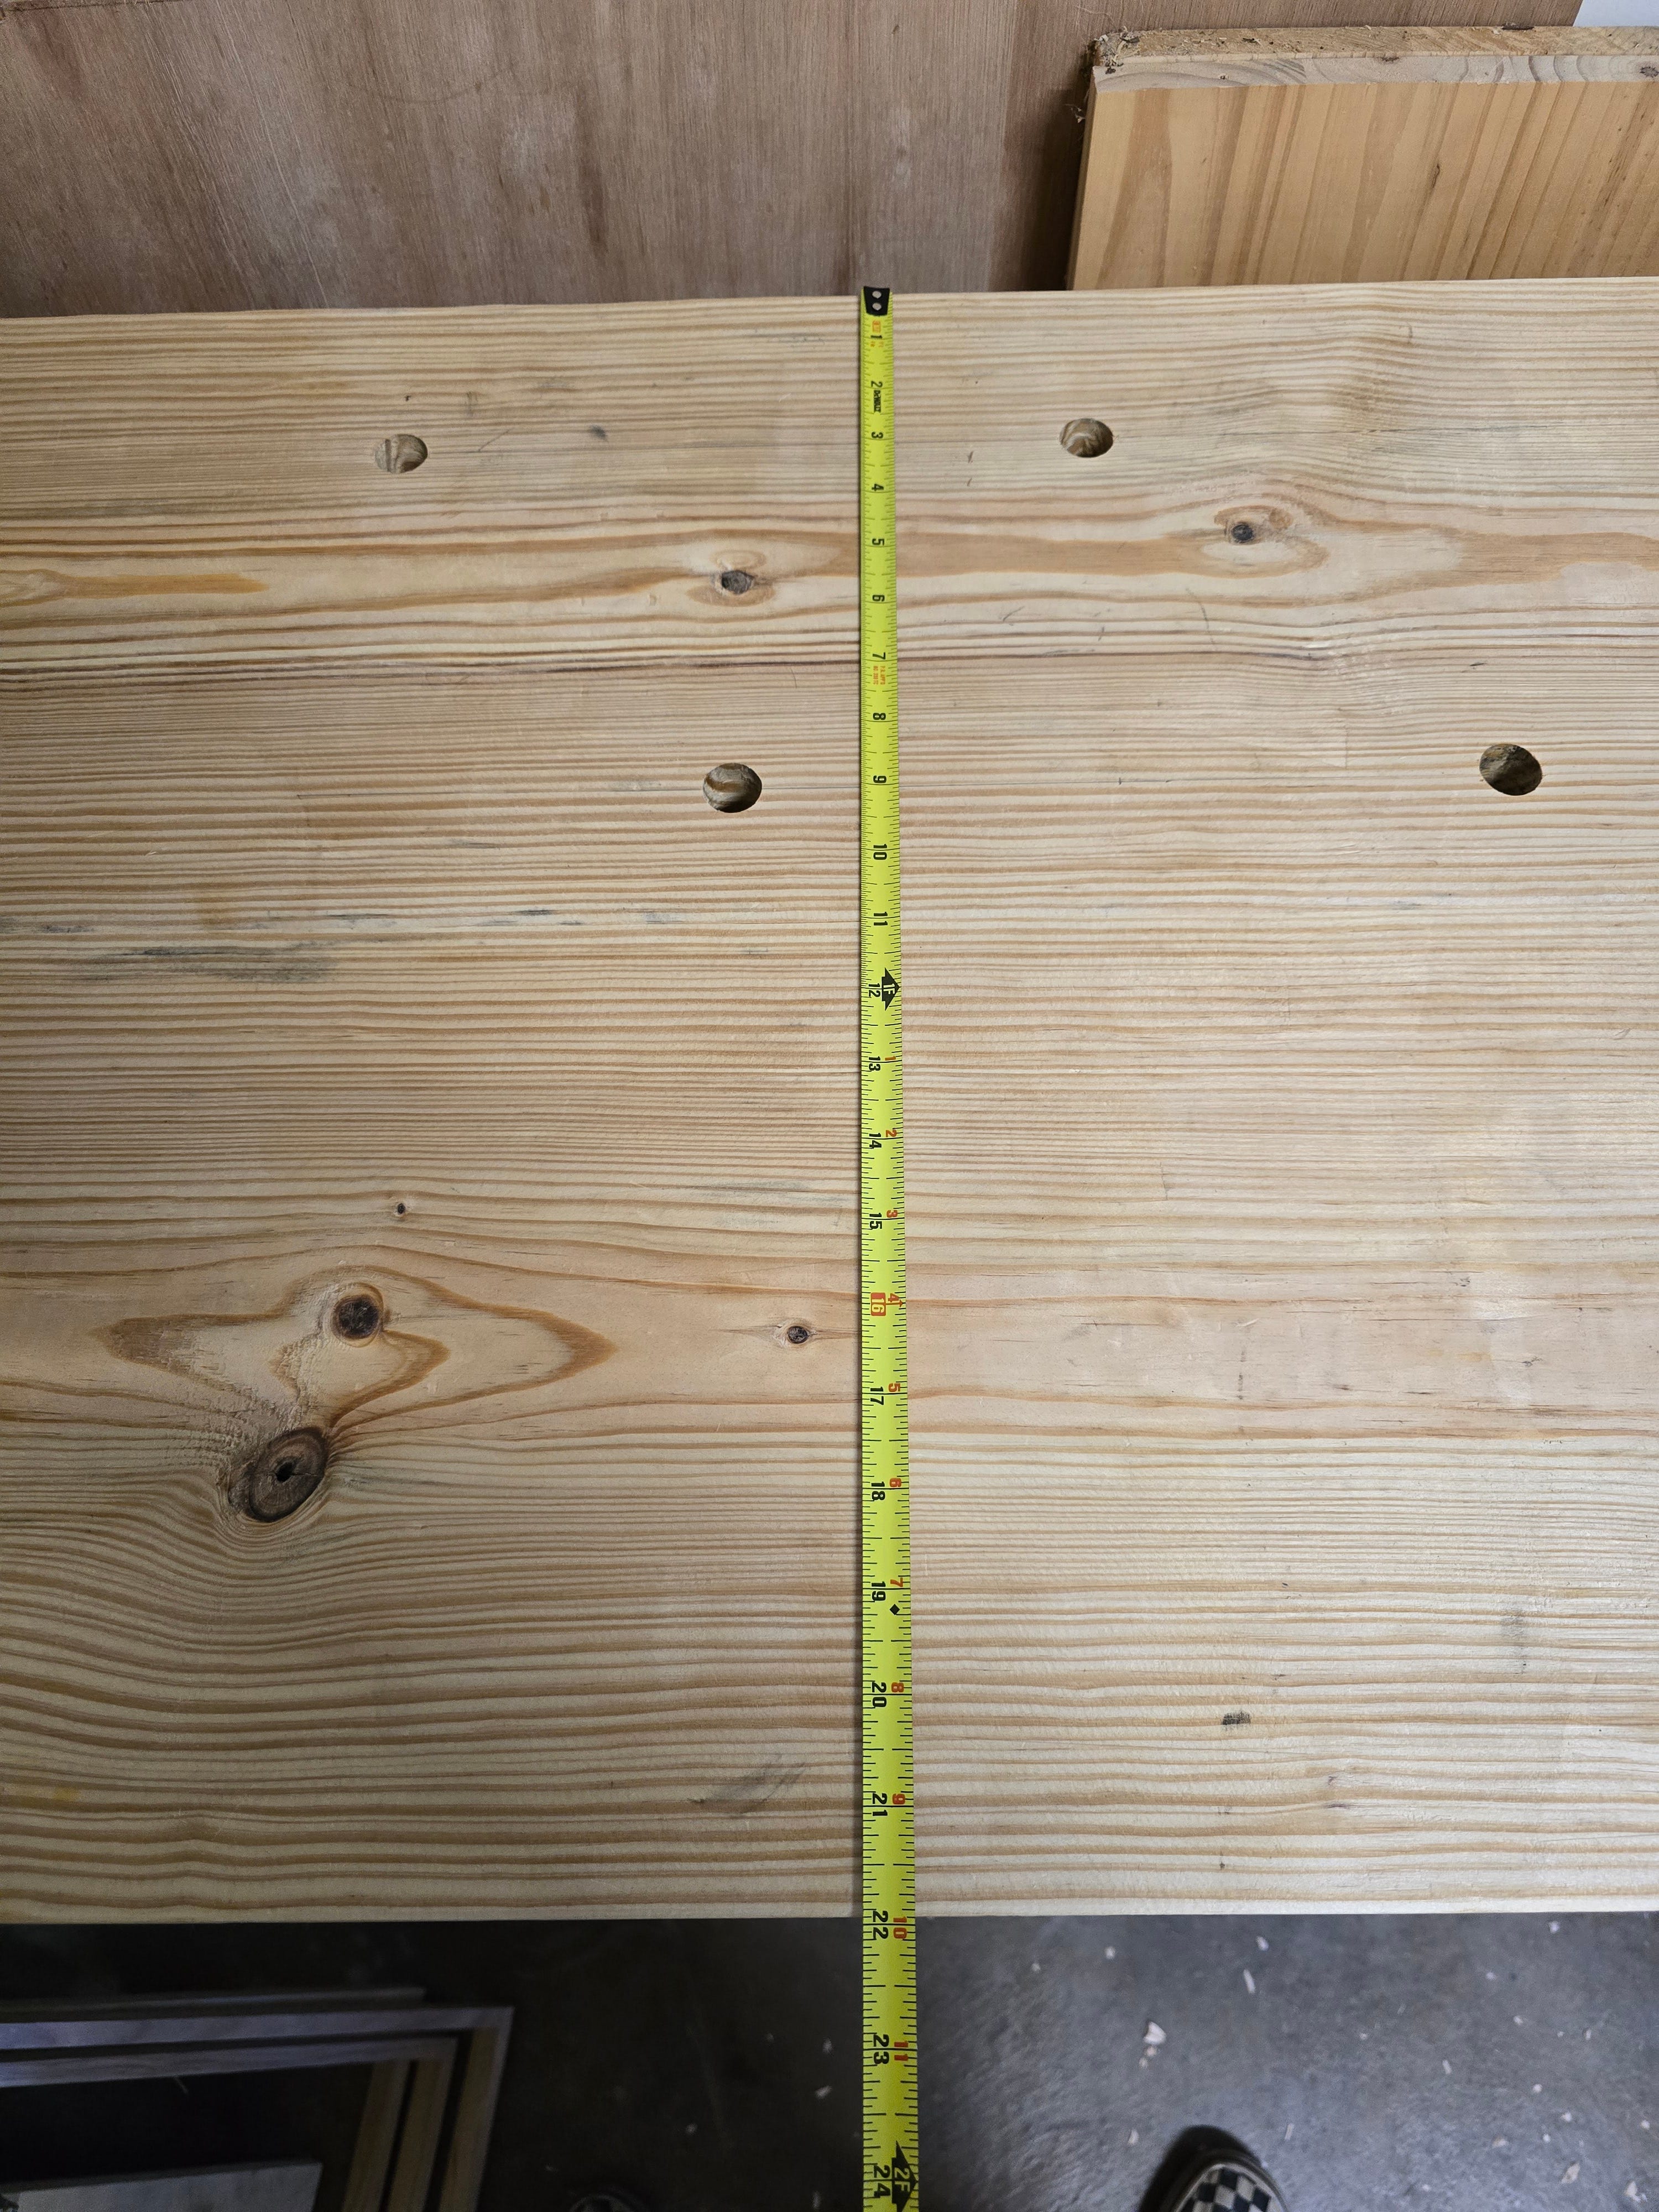
Now, eagle-eyed readers probably noticed something odd in the second photo in this article… Now that you’ve scrolled back up to check, I’ll tell you: there’s three mortise stops; none of which are what Schwarz calls for in the plans, and two of which aren’t standard on any plans. You are correct and this is odd.
I’d like to say it was because the location for the actual mortise for the friction fit stop was too close to the edge of the table for my comfort. I would have had to move it closer to the edge to get past the apron underneath the tabletop between the front and rear legs. That is a valid concern I had, and it was how I made light of really messing up on the top.
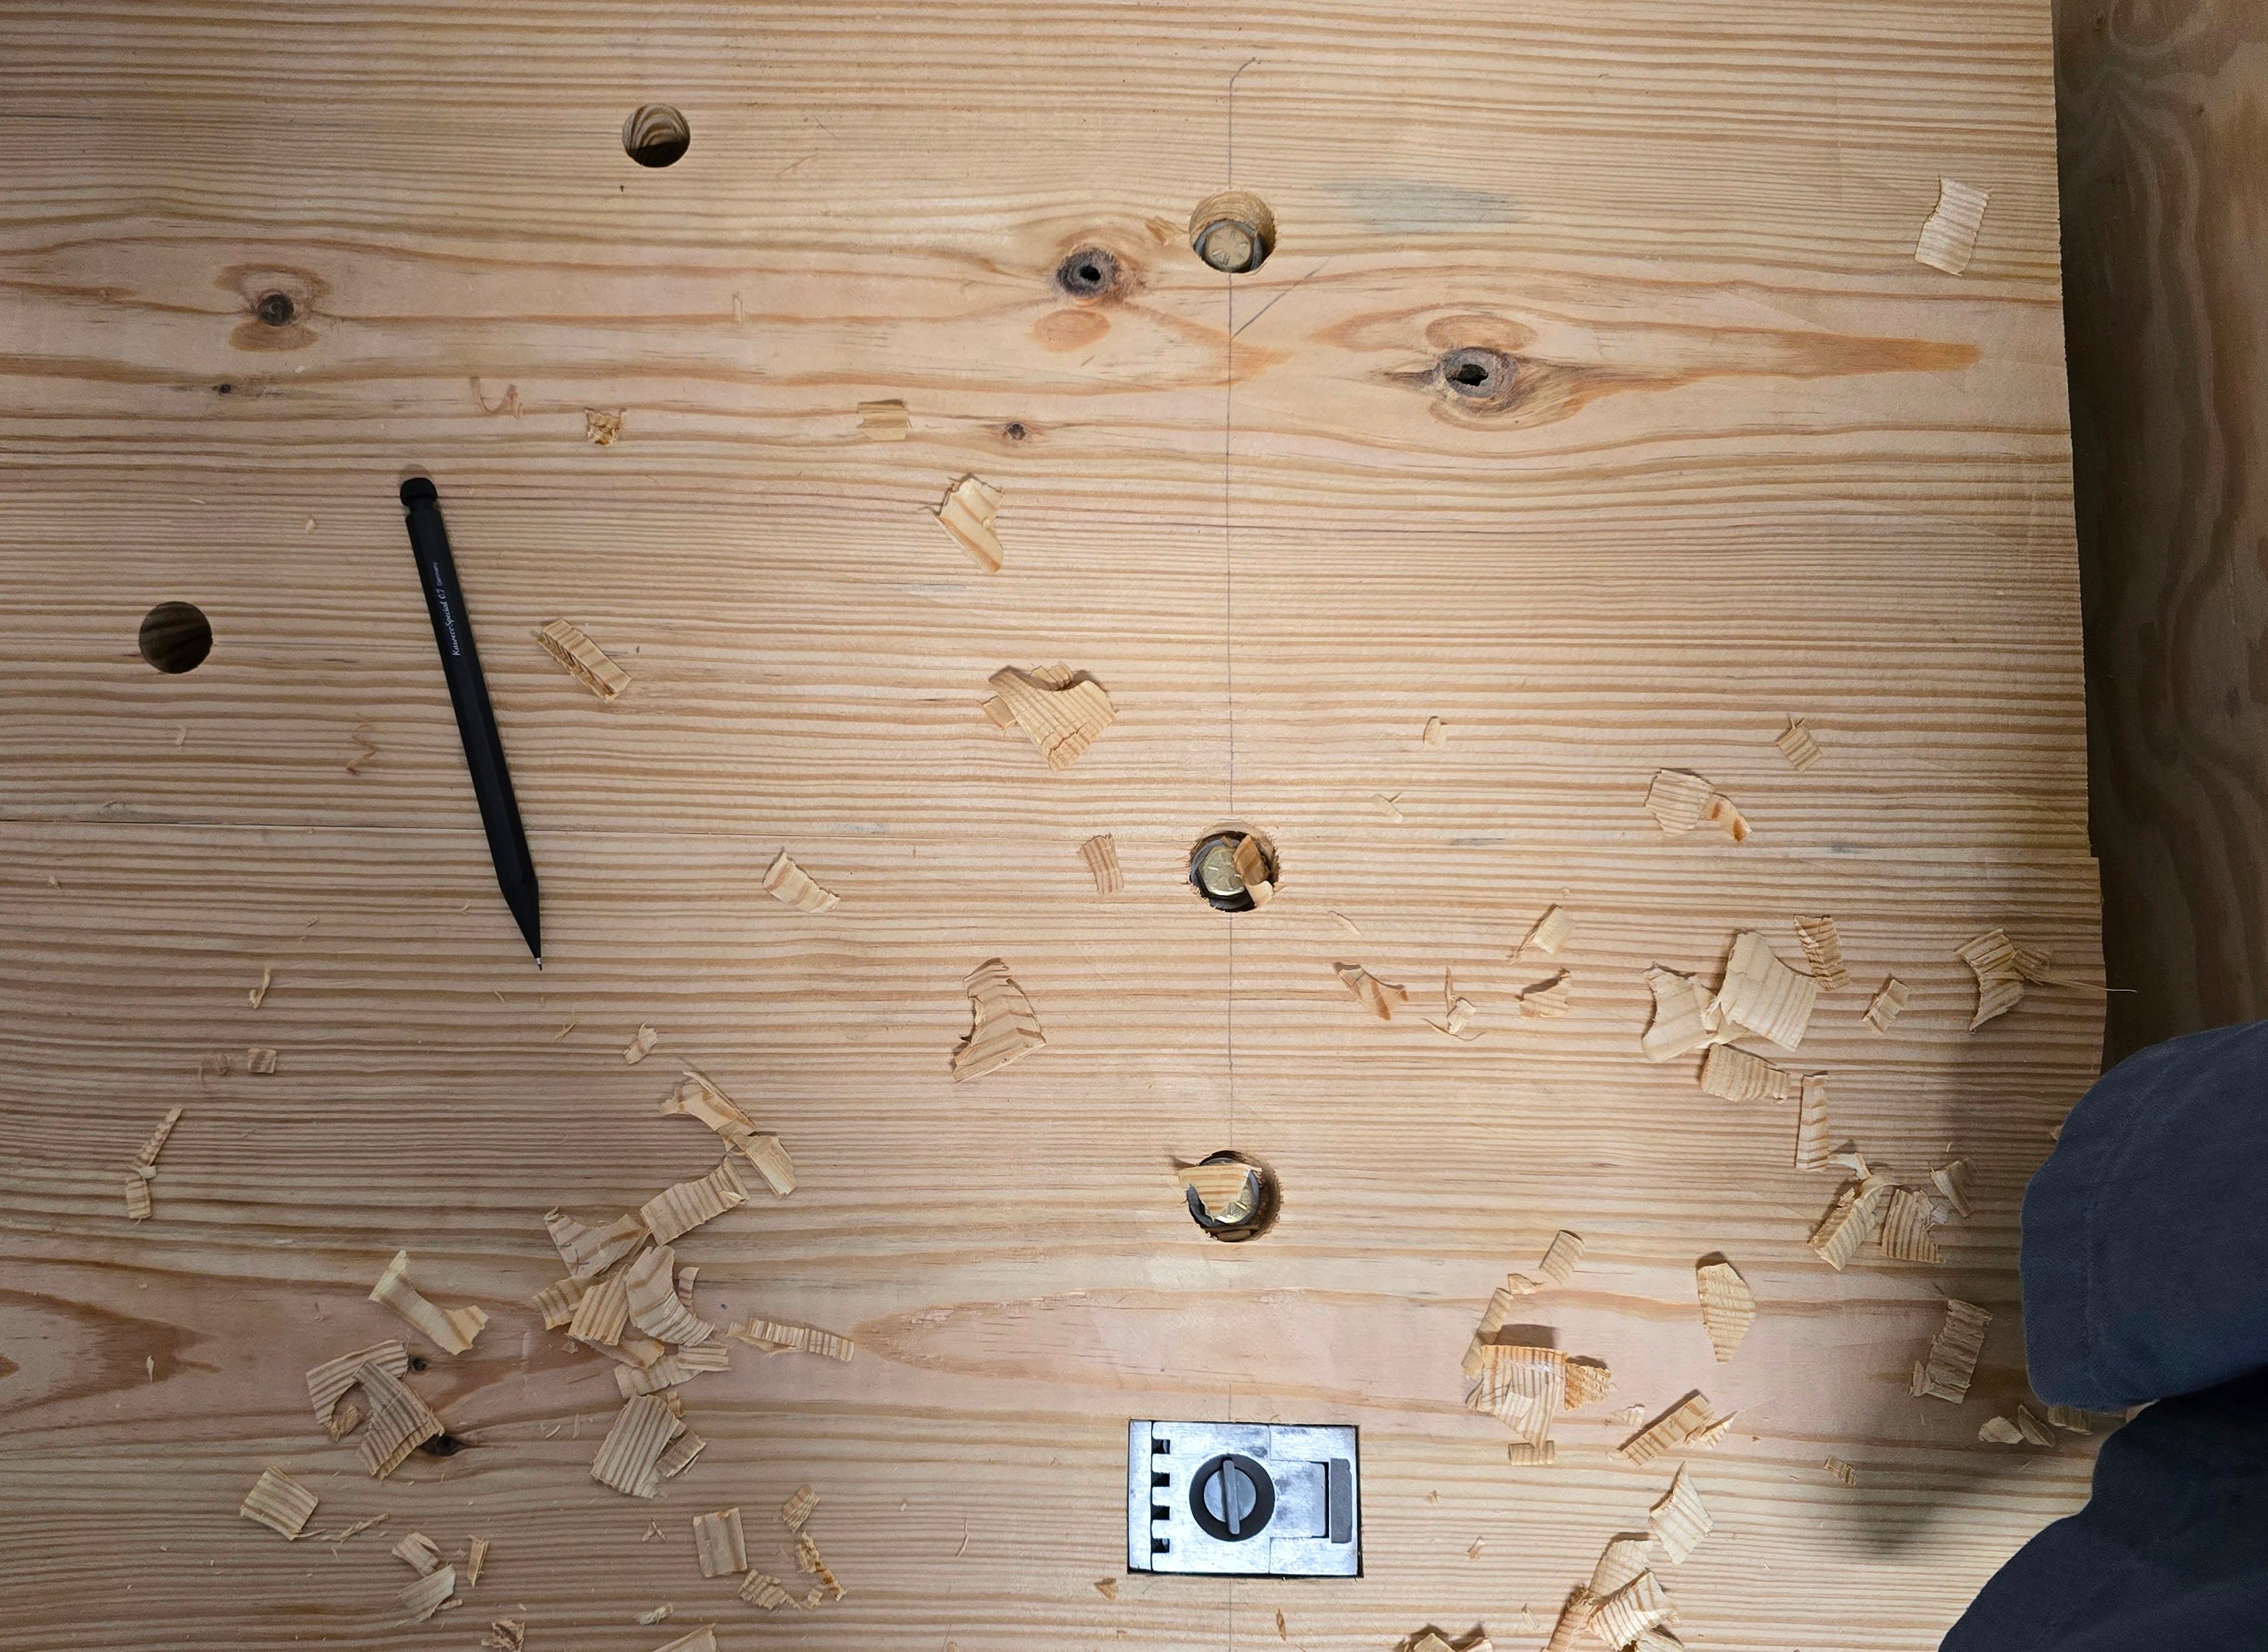
Here it is, when drilling the countersink for the bolts to attach the top, I zoned out. What was supposed to be a 3/4” hole with a 1” countersink for the bolt head, turned into a 1” hold all the way through. I did this on three of the six bolts up here. The one in the front and middle of the left side and the one in the front on the right side.
After being very upset with myself, I realized it wasn’t so bad. I just moved the bolt holes about halfway between where they should have gone and the next bolt and so far everything has still been holding up fine and it’s plenty sturdy.
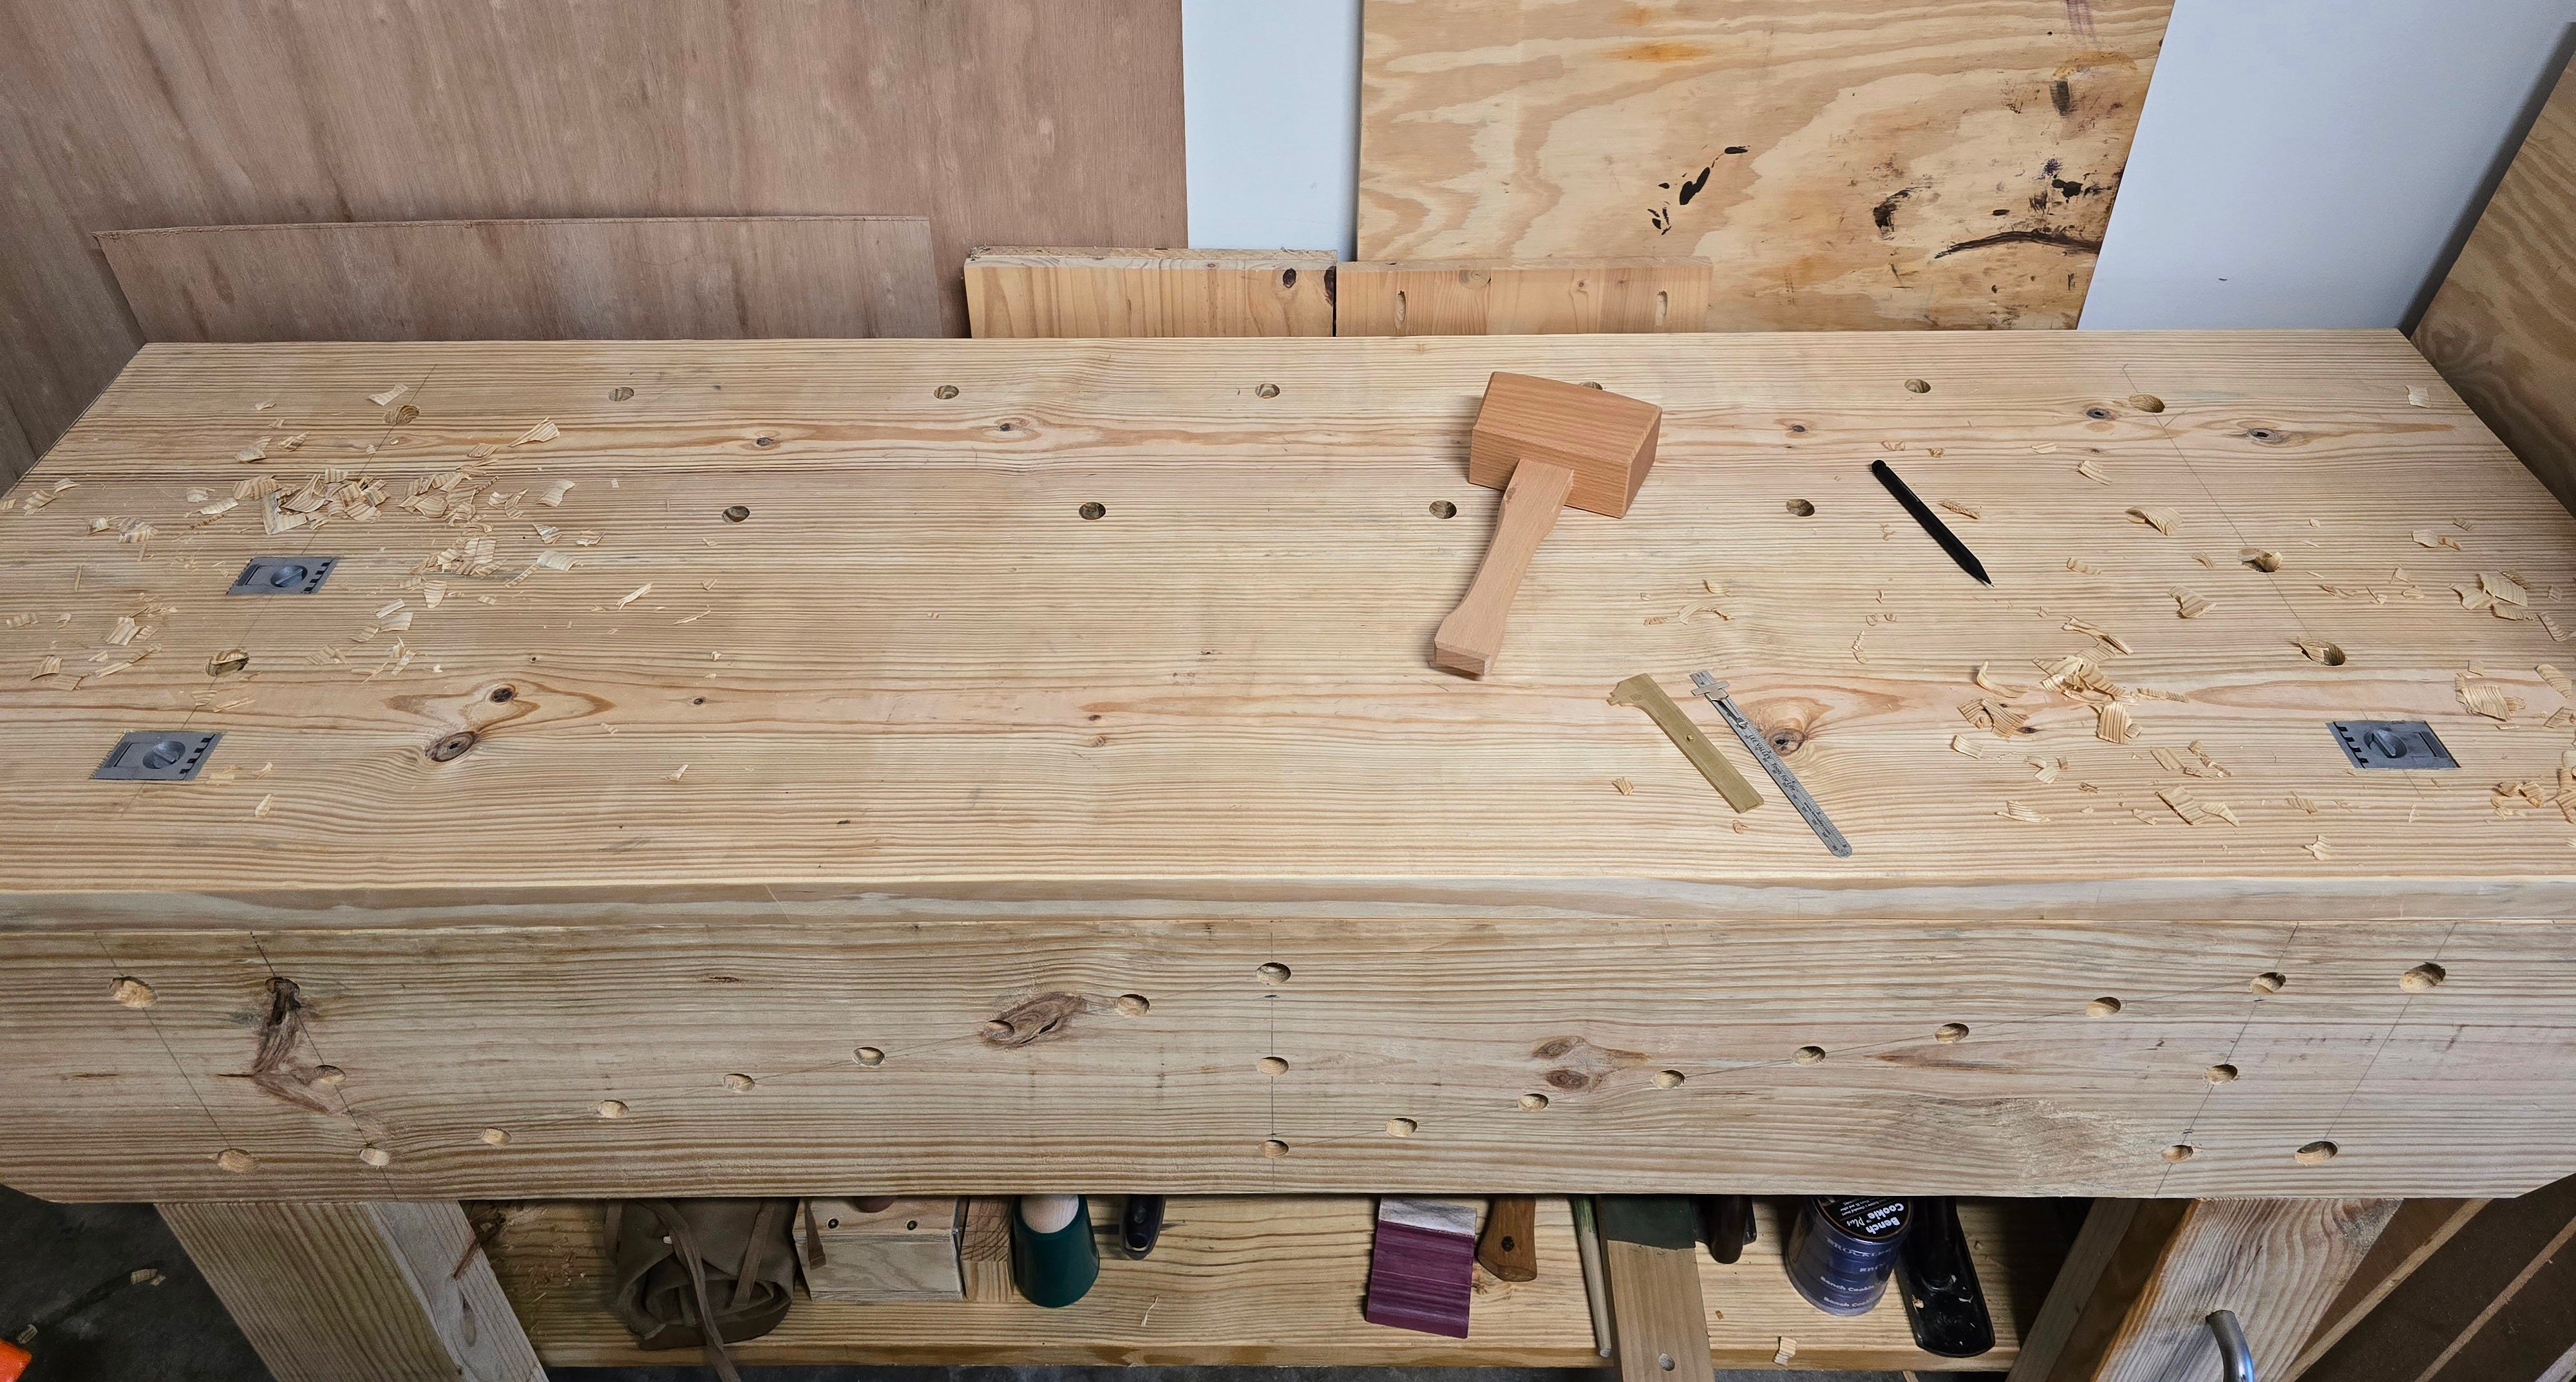
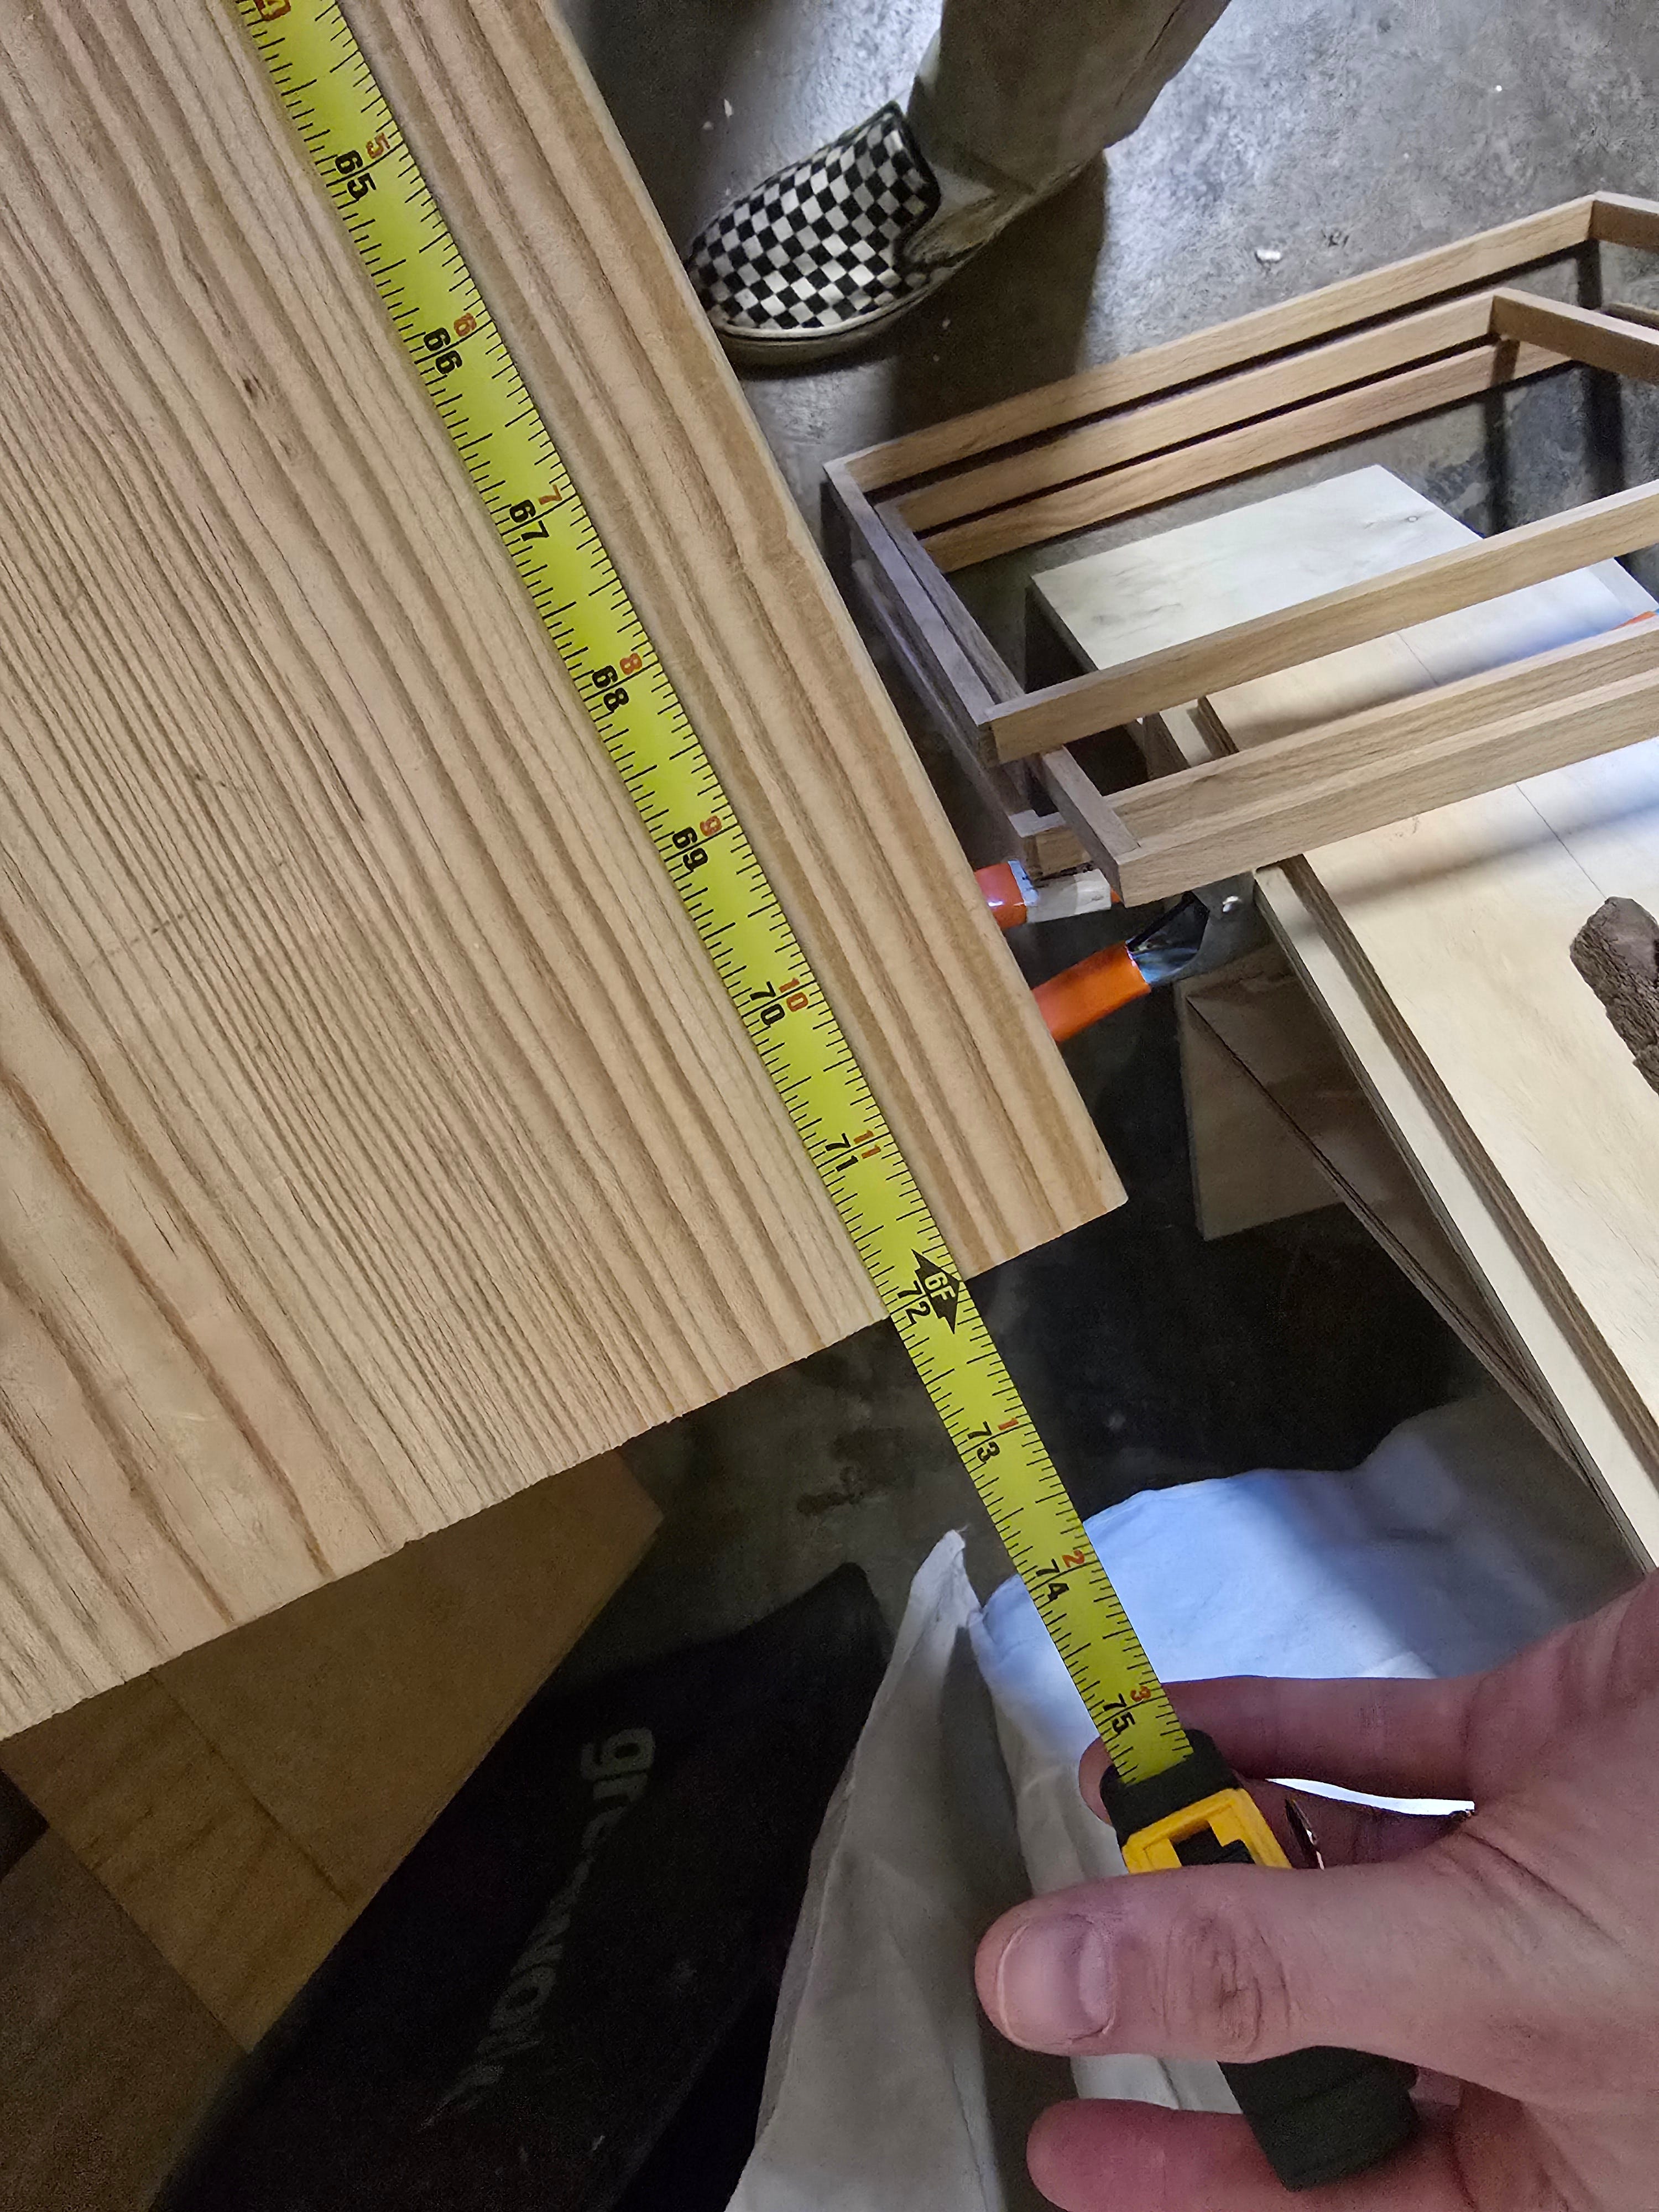
I still needed a planing stop though. Luckily, I found these from Lee Valley, they’re mortised planing stops. They require a hole (luckily I had three extras) surrounded by a short mortise to fit just below the surface they’re mounted into. So, at only $11 each, I bought three.
This is the way I see it. Do I need three? No. They cover up the holes in the bench that just remind me of messing up the bench top. Also, they’re optional. I chopped out the mortises to make the stops fit about 2mm beneath the bench top when flat. So I don’t have to use them if I don’t want to and they’re out of the way. I actually like having two on the left side. They are even with each other and allow for planing wide boards without them pivoting around the stops. The one on the right is really a backup.
Most benches can be accessed from all sides because they are in the middle of the room they are in. Mine is in a one car garage against the wall. The stop on the right allows me to plane in a left hand fashion, since I can’t get to the other side of the bench. Sometimes that’s easier, I’m (mostly) ambidextrous and I like to work my off-side so this works really well for me. It was also good practice for making mortises as these stops all require a weird shape bottom of the mortise to make sure the stop lays flat.
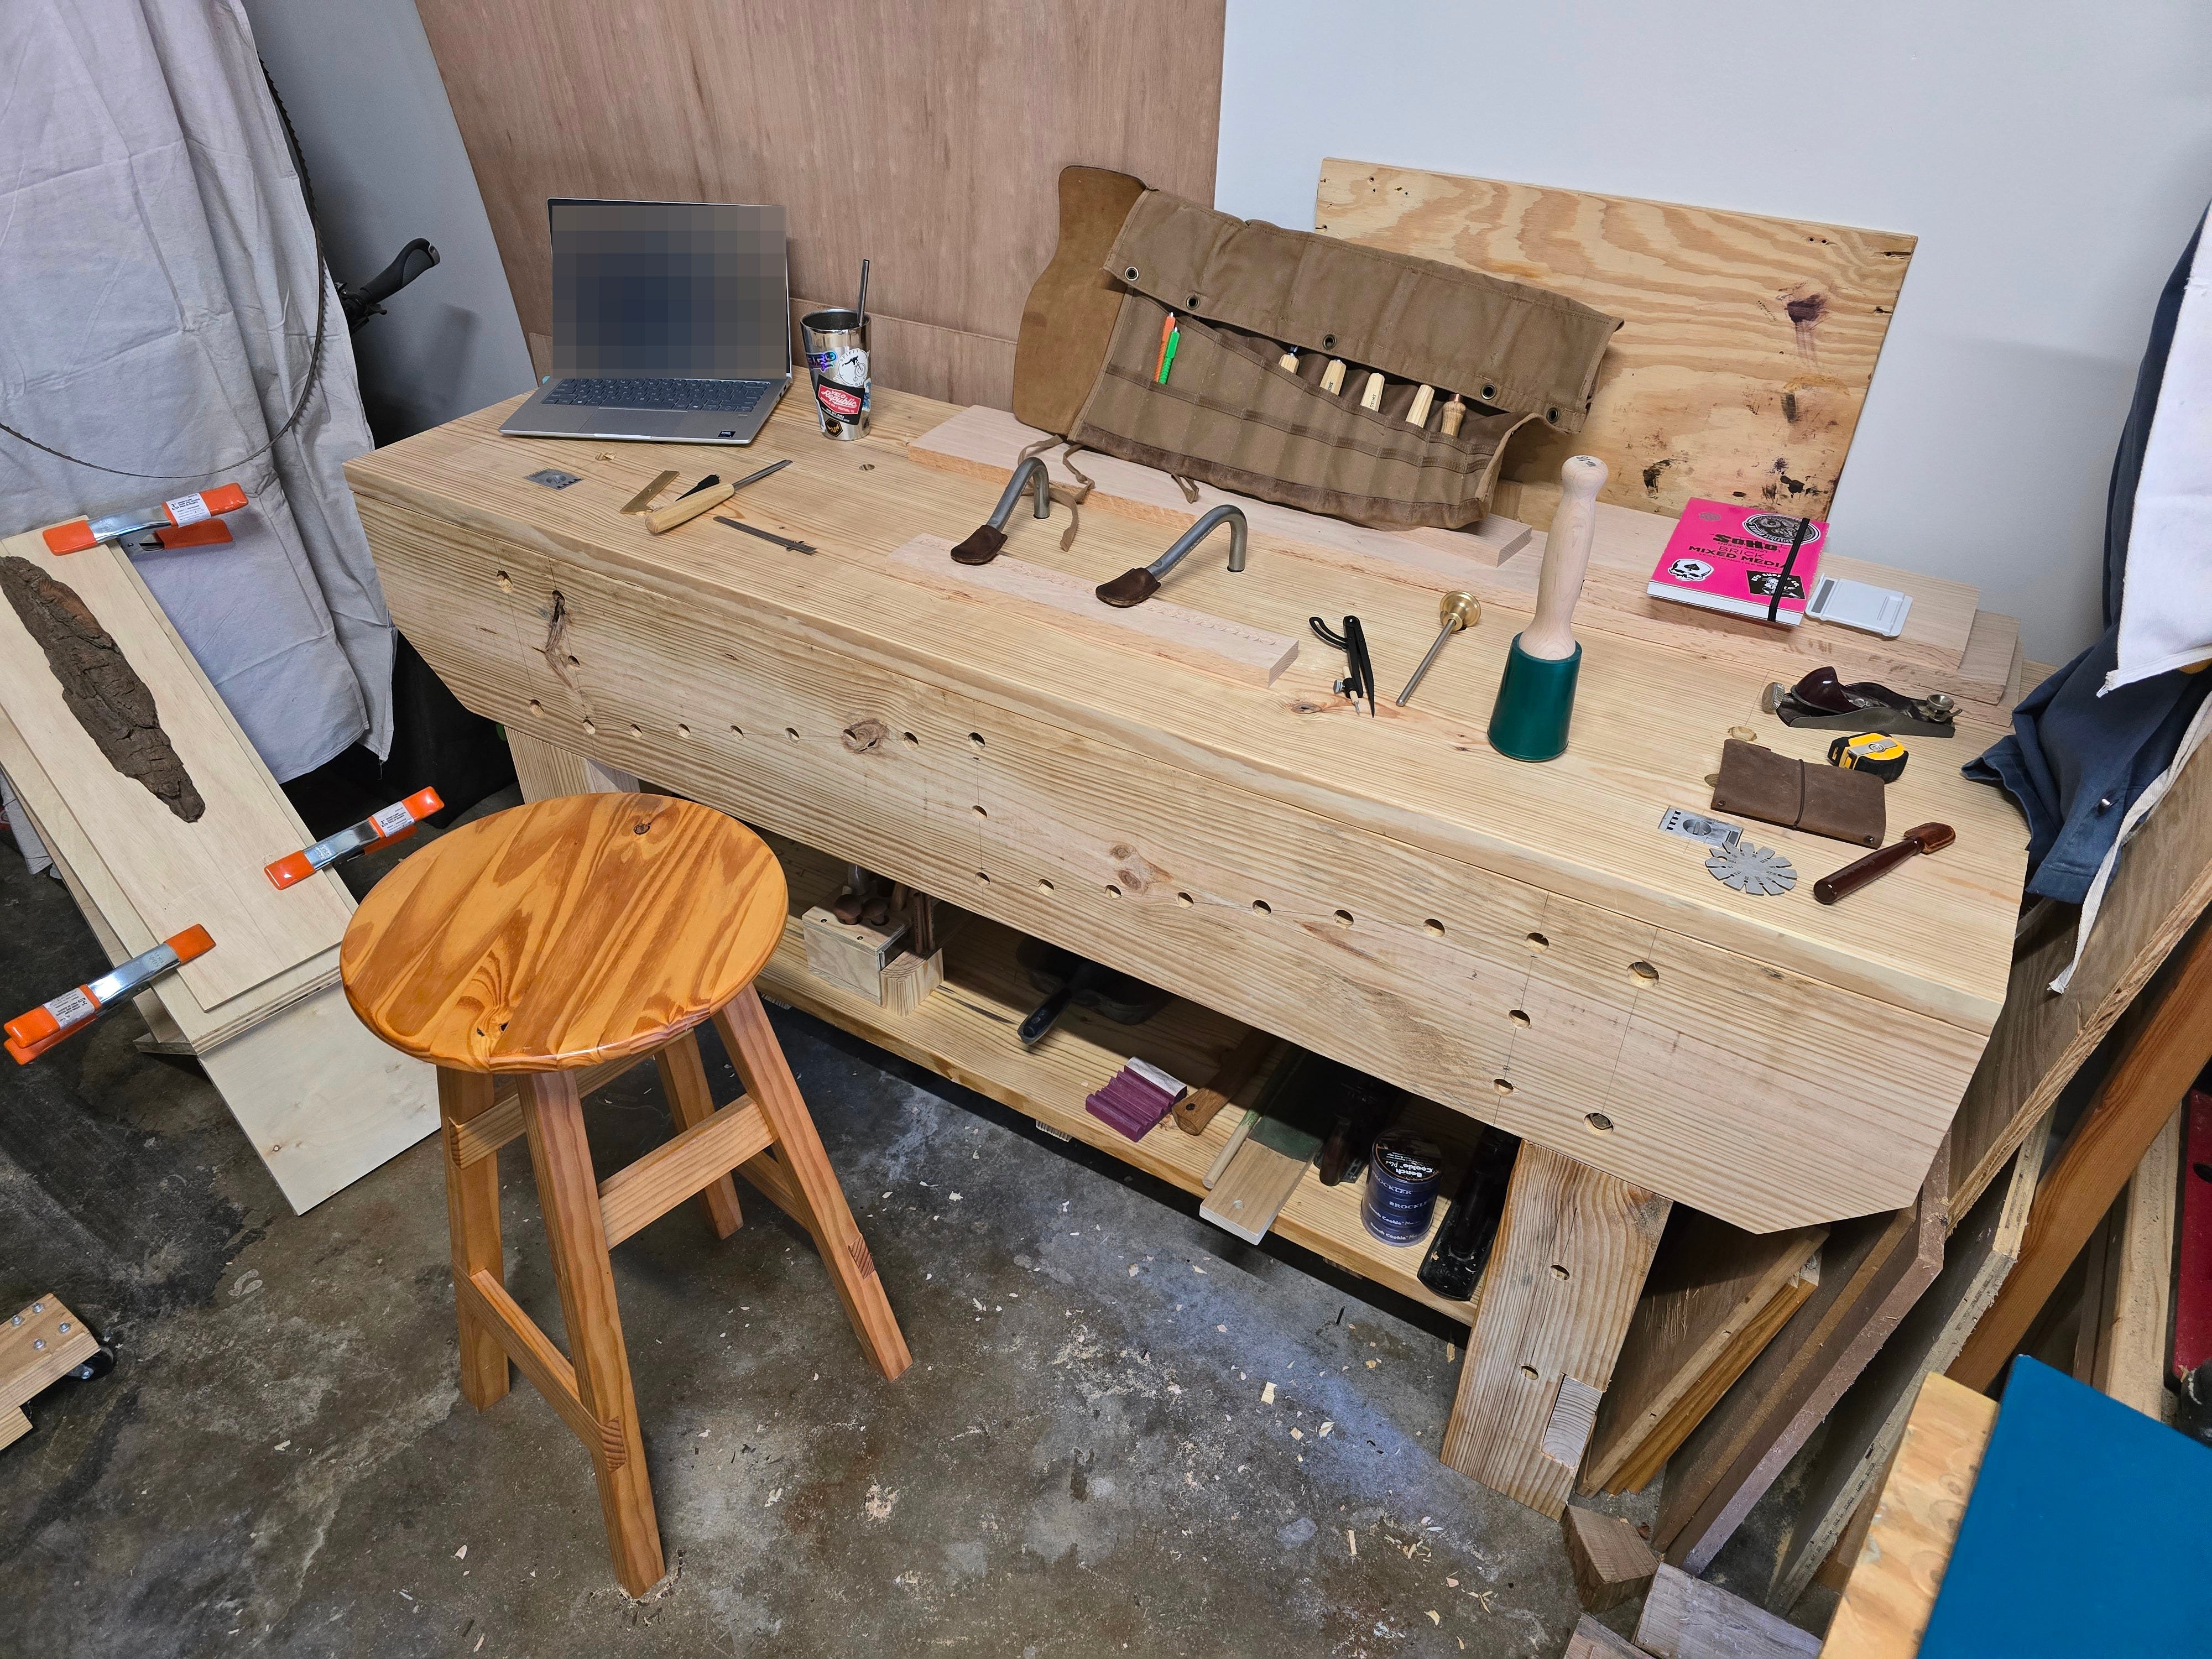
And that’s pretty much it. I like this bench a lot and despite my goofs it works really well and I love being in the garage and working here now. The bench is super solid and sturdy. I highly recommend a joiner’s bench to any new woodworker as their first bench and I recommend this build. A vice is cool and all but I never really find myself missing it. The holdfasts work great and a good vice would have easily doubled (or tripled) the cost of this table.
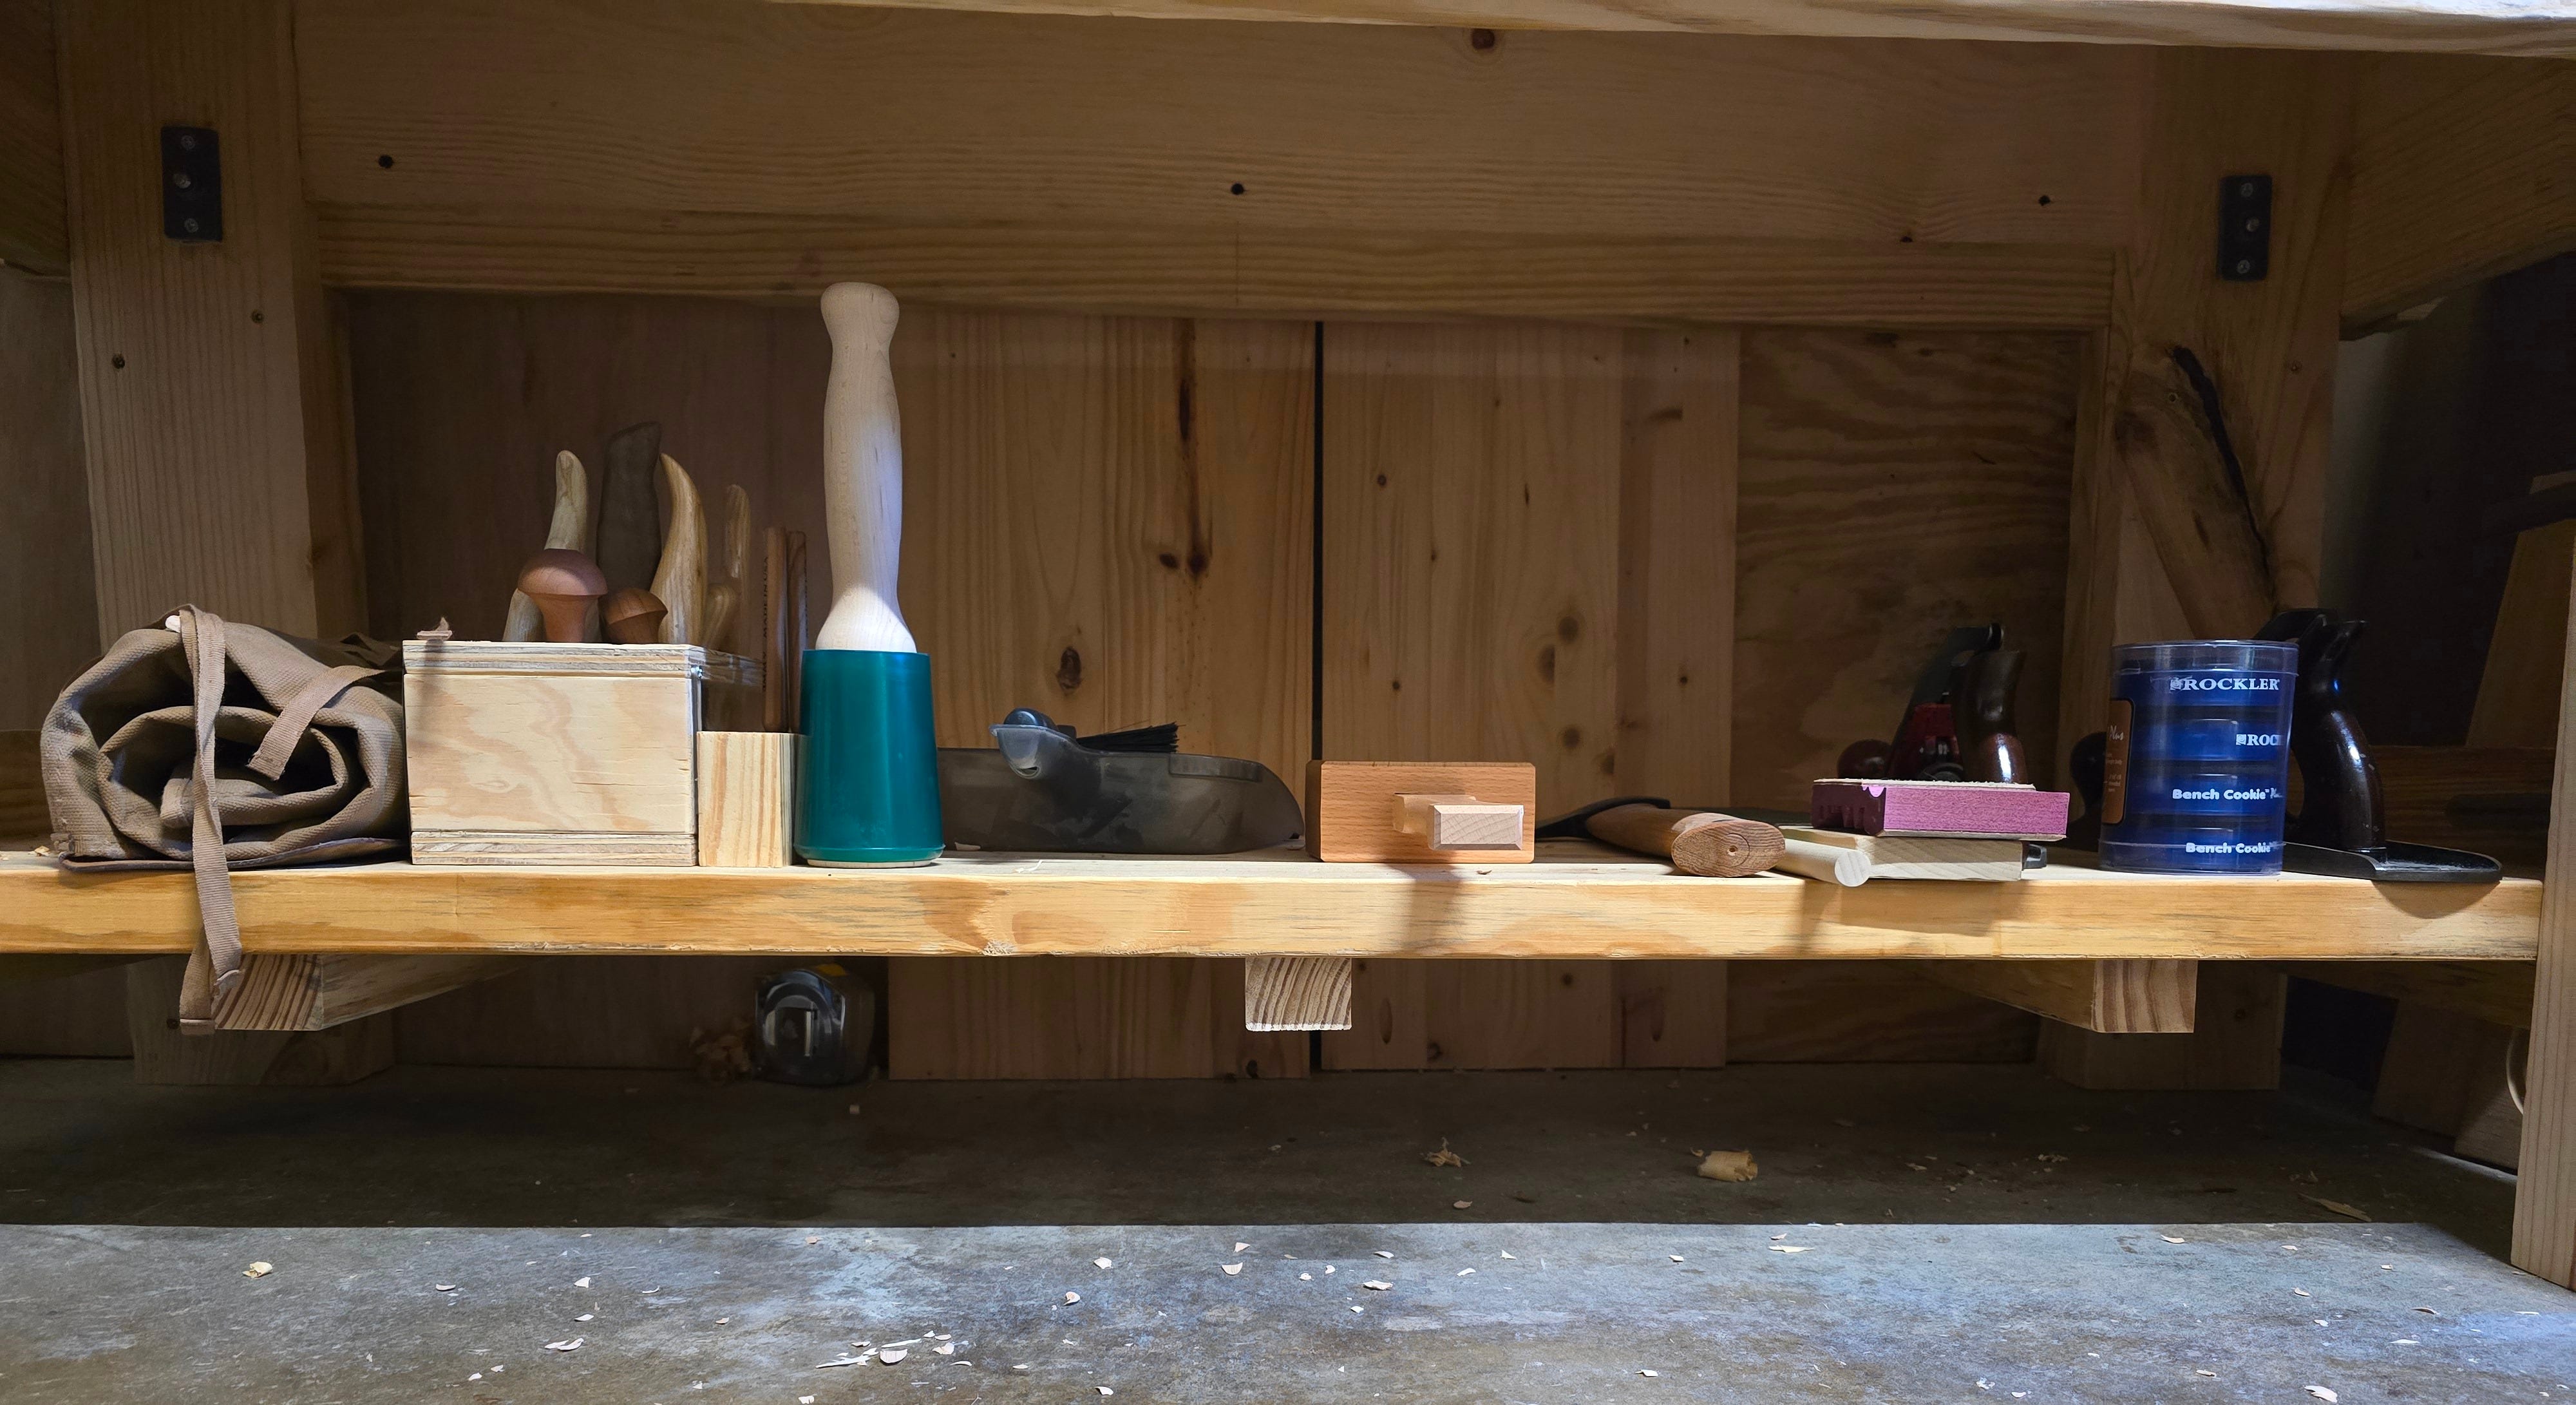
Below are some extra photos of the shelf I added and the work bench in use, along with the outdoor carving station I promised I’d blurb in the last post.
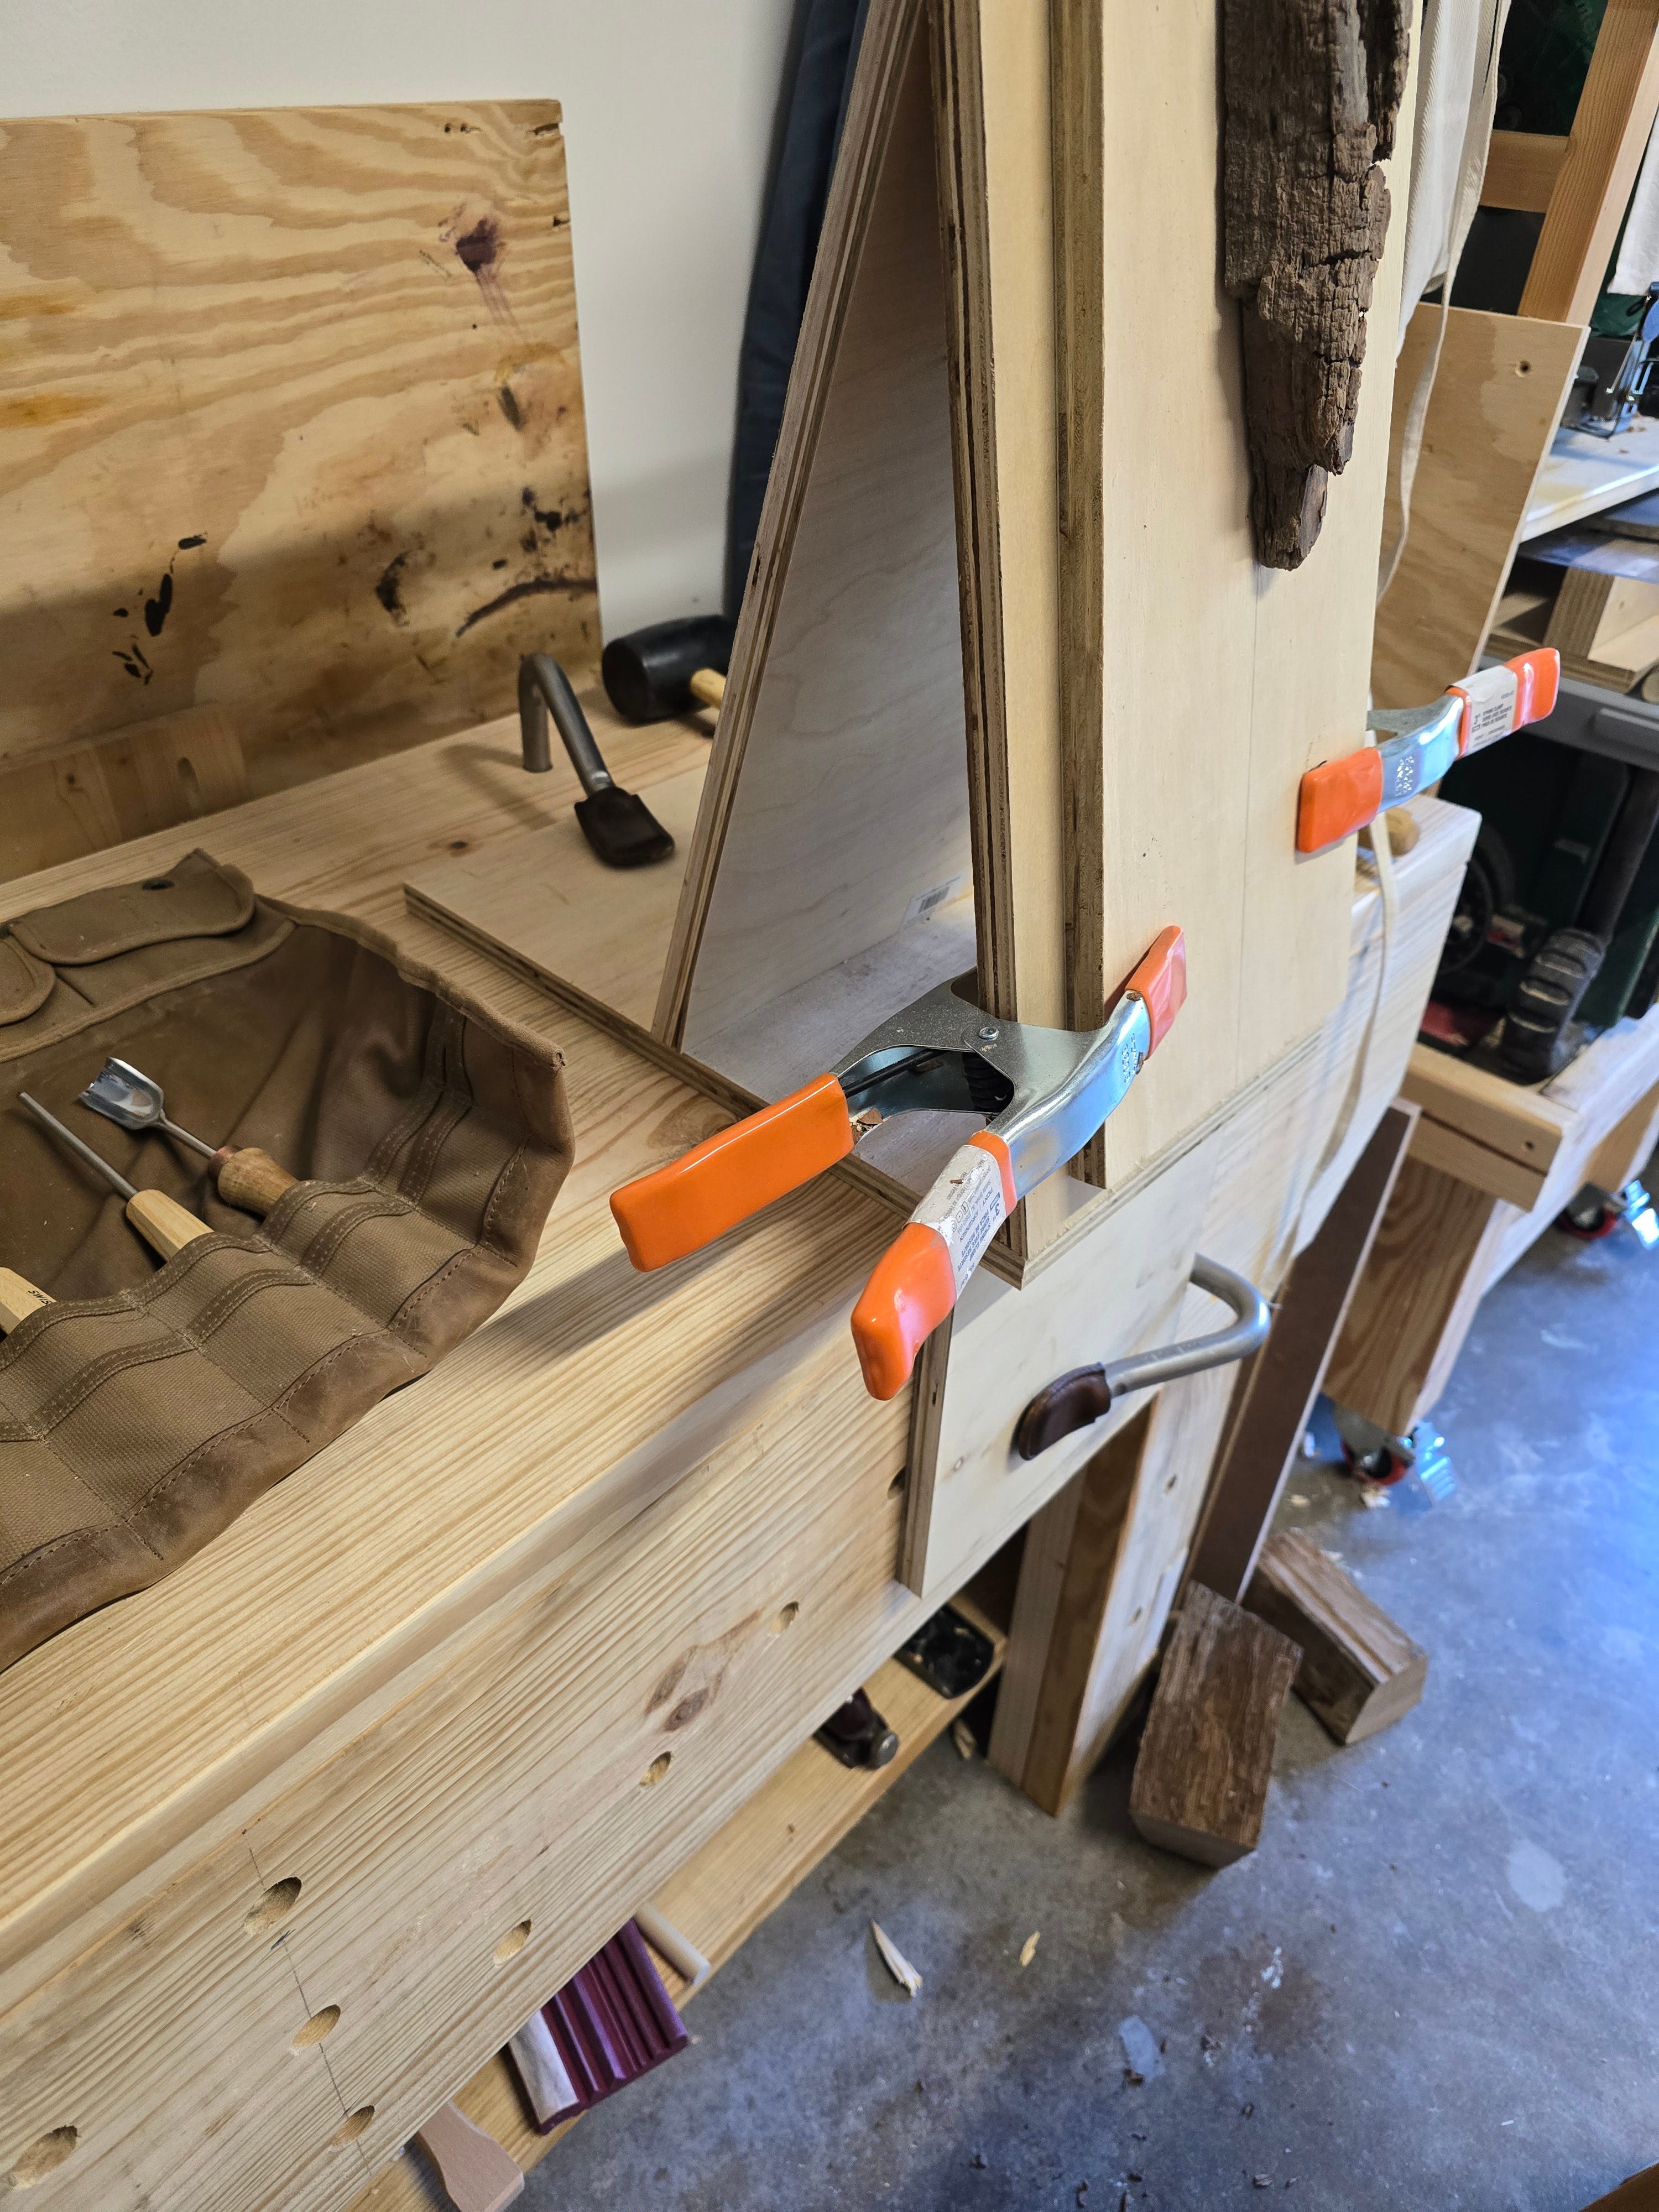
The Garage Carving Station
This thing works well and mirrors the carving station from my last post exactly as far as angles are concerned, so they feel the same. The main difference is that this one is lower so I can sit at my shop stool and carve if I want to.
Resource List
The article - https://www.popularwoodworking.com/article/knockdown-english-workbench/
Opticutter - https://www.opticutter.com/
Lee Valley Mortised Bench Stops - https://www.leevalley.com
Gramercy Holdfasts - https://toolsforworkingwood.com/store/item/ms-holdfast.xx/holdfasts_by_gramercy_tools